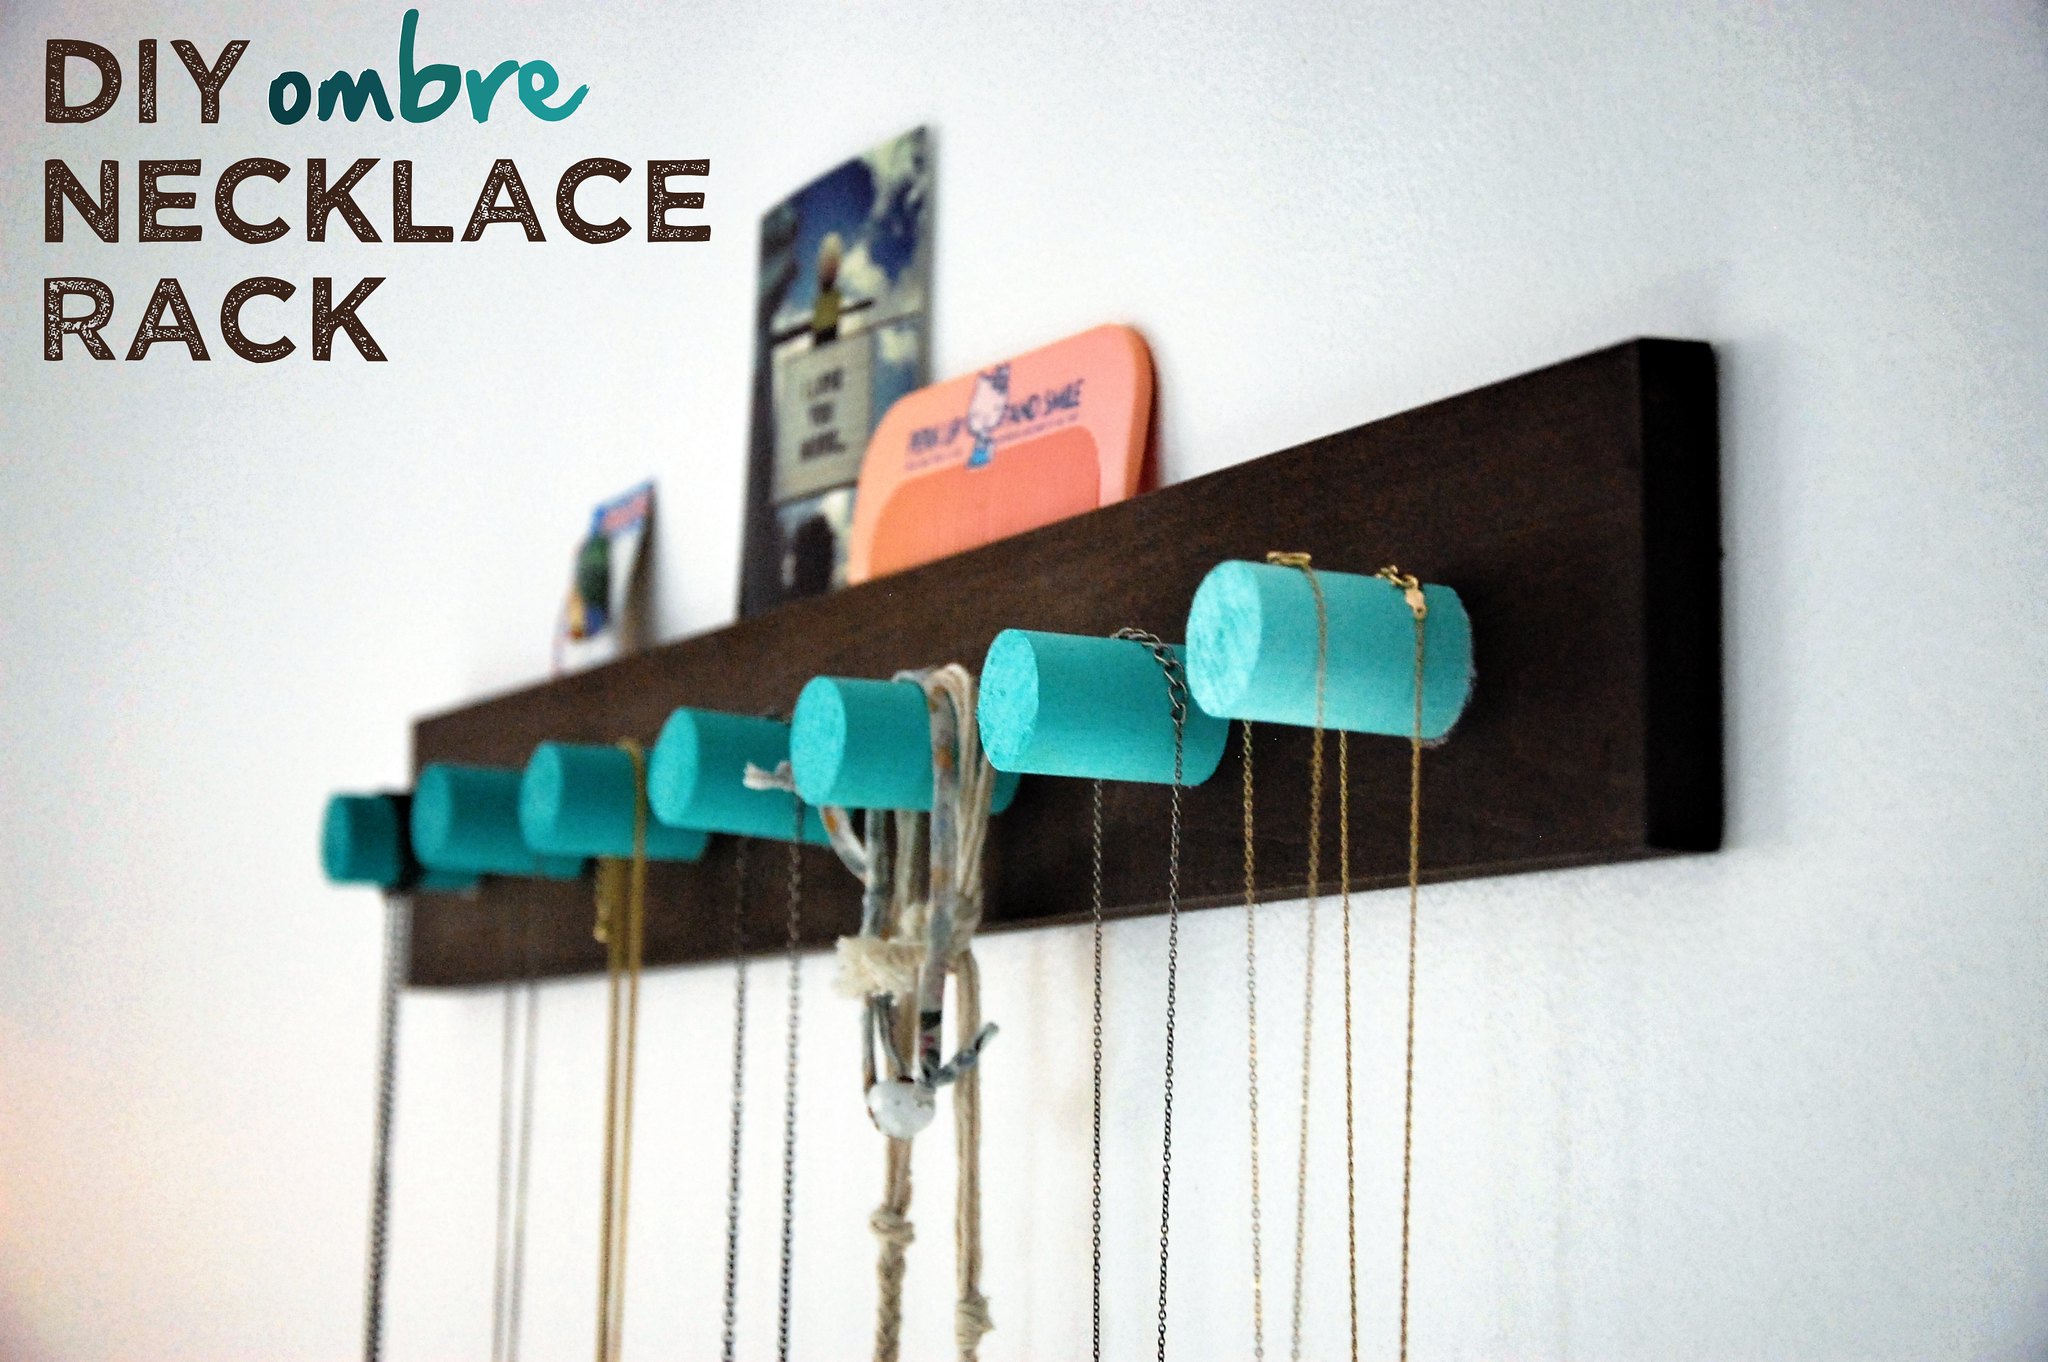
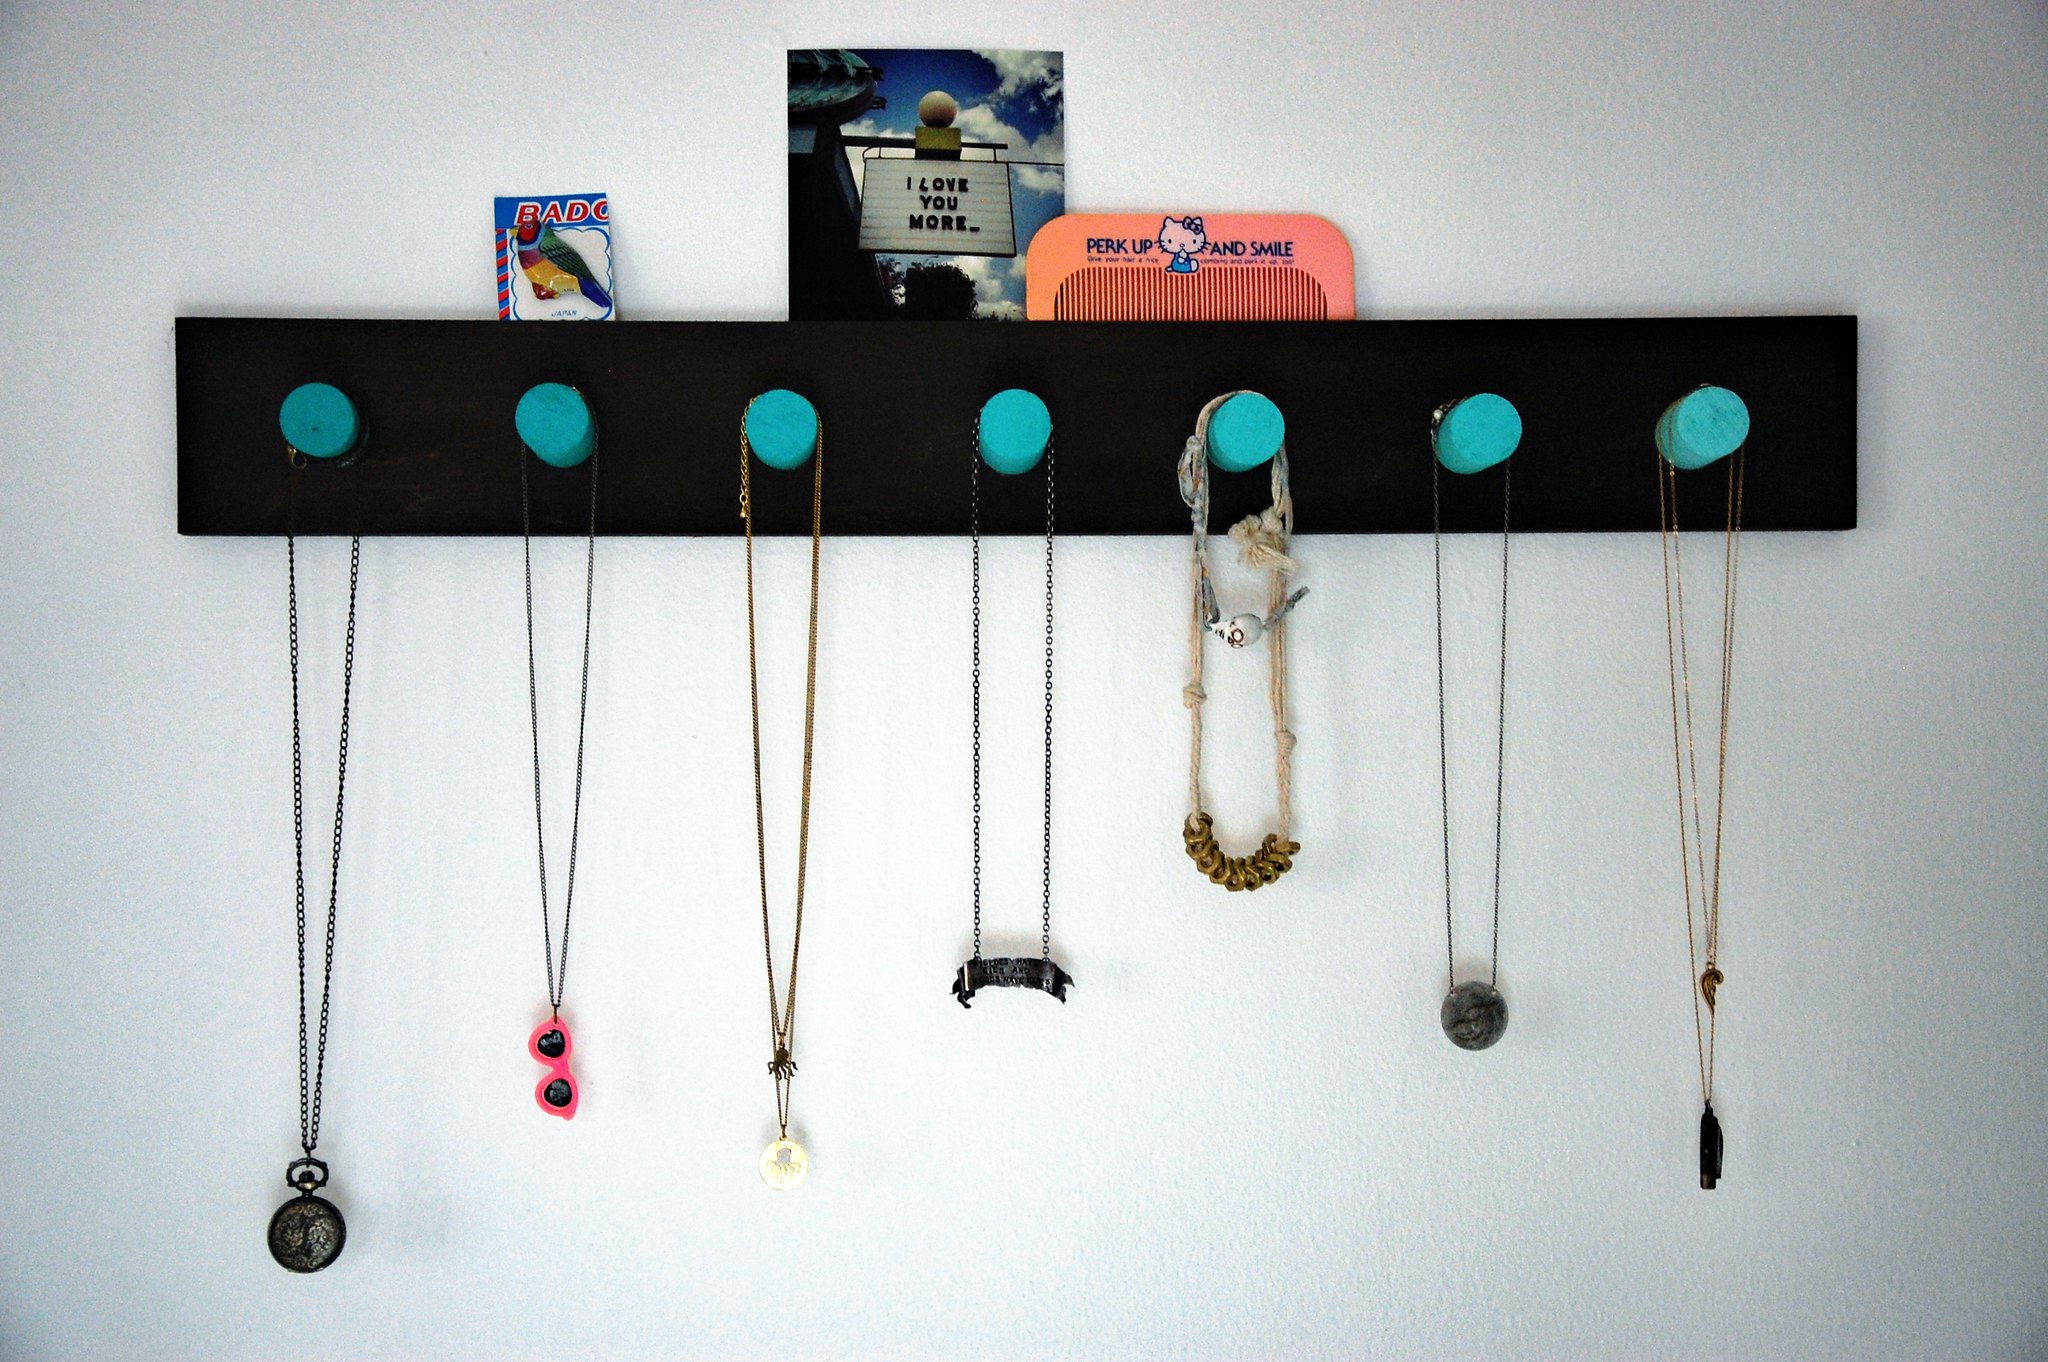
With our limited wall space (and bathroom space...and bedroom space...) I wanted a simple, clean way to hang up my necklaces to see them all. Since our walls are so very white, I wanted some pops of color, too. It was a pretty quick project, and I love seeing the result hanging up. Here's what you'll need to make one of your own:
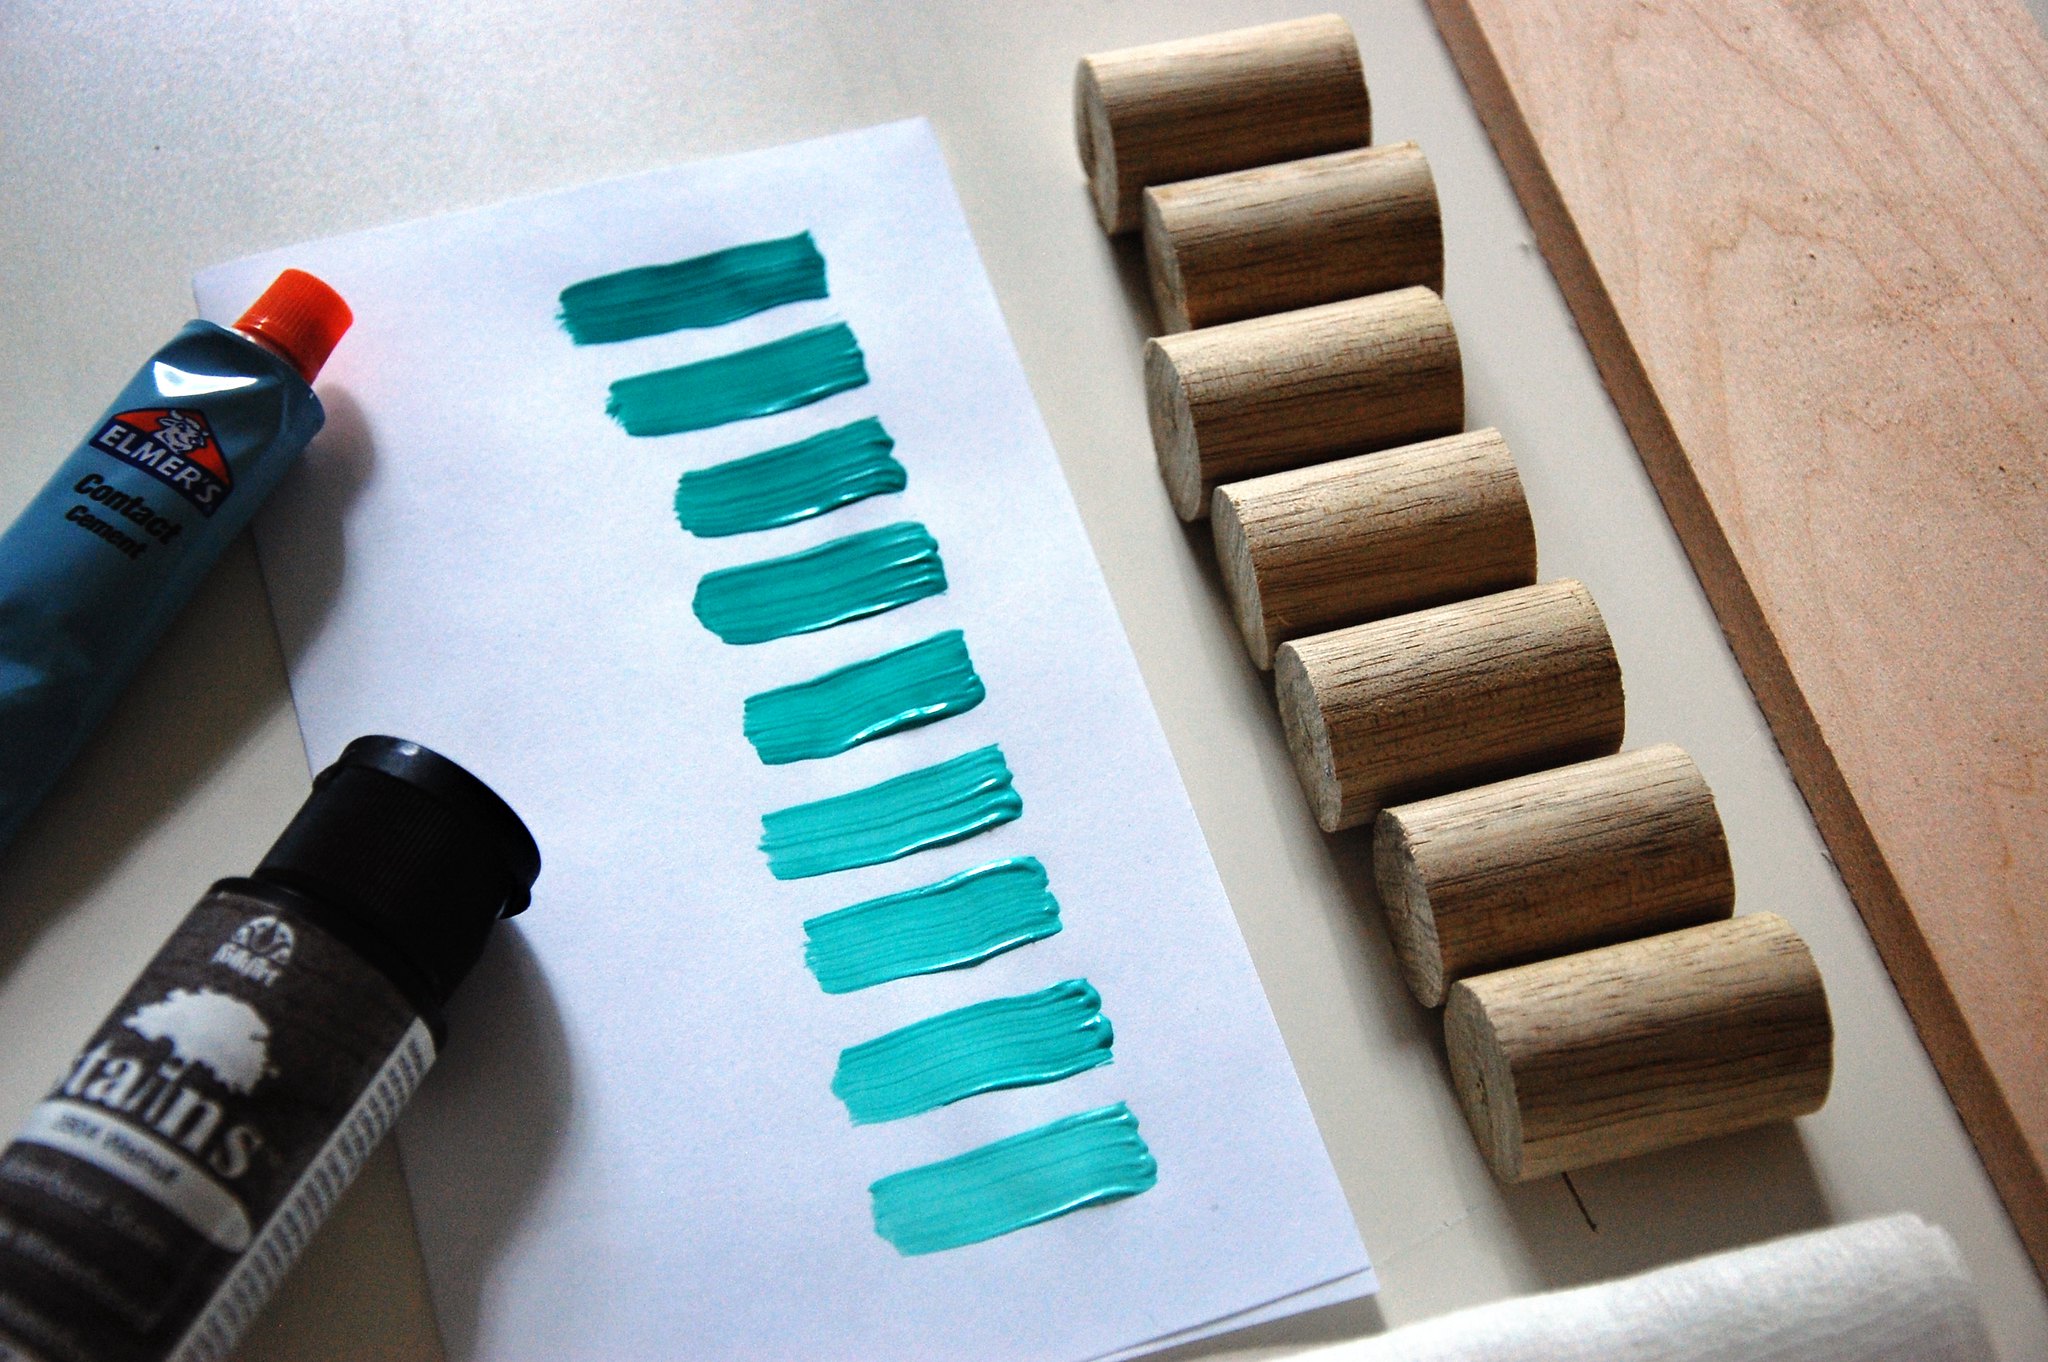
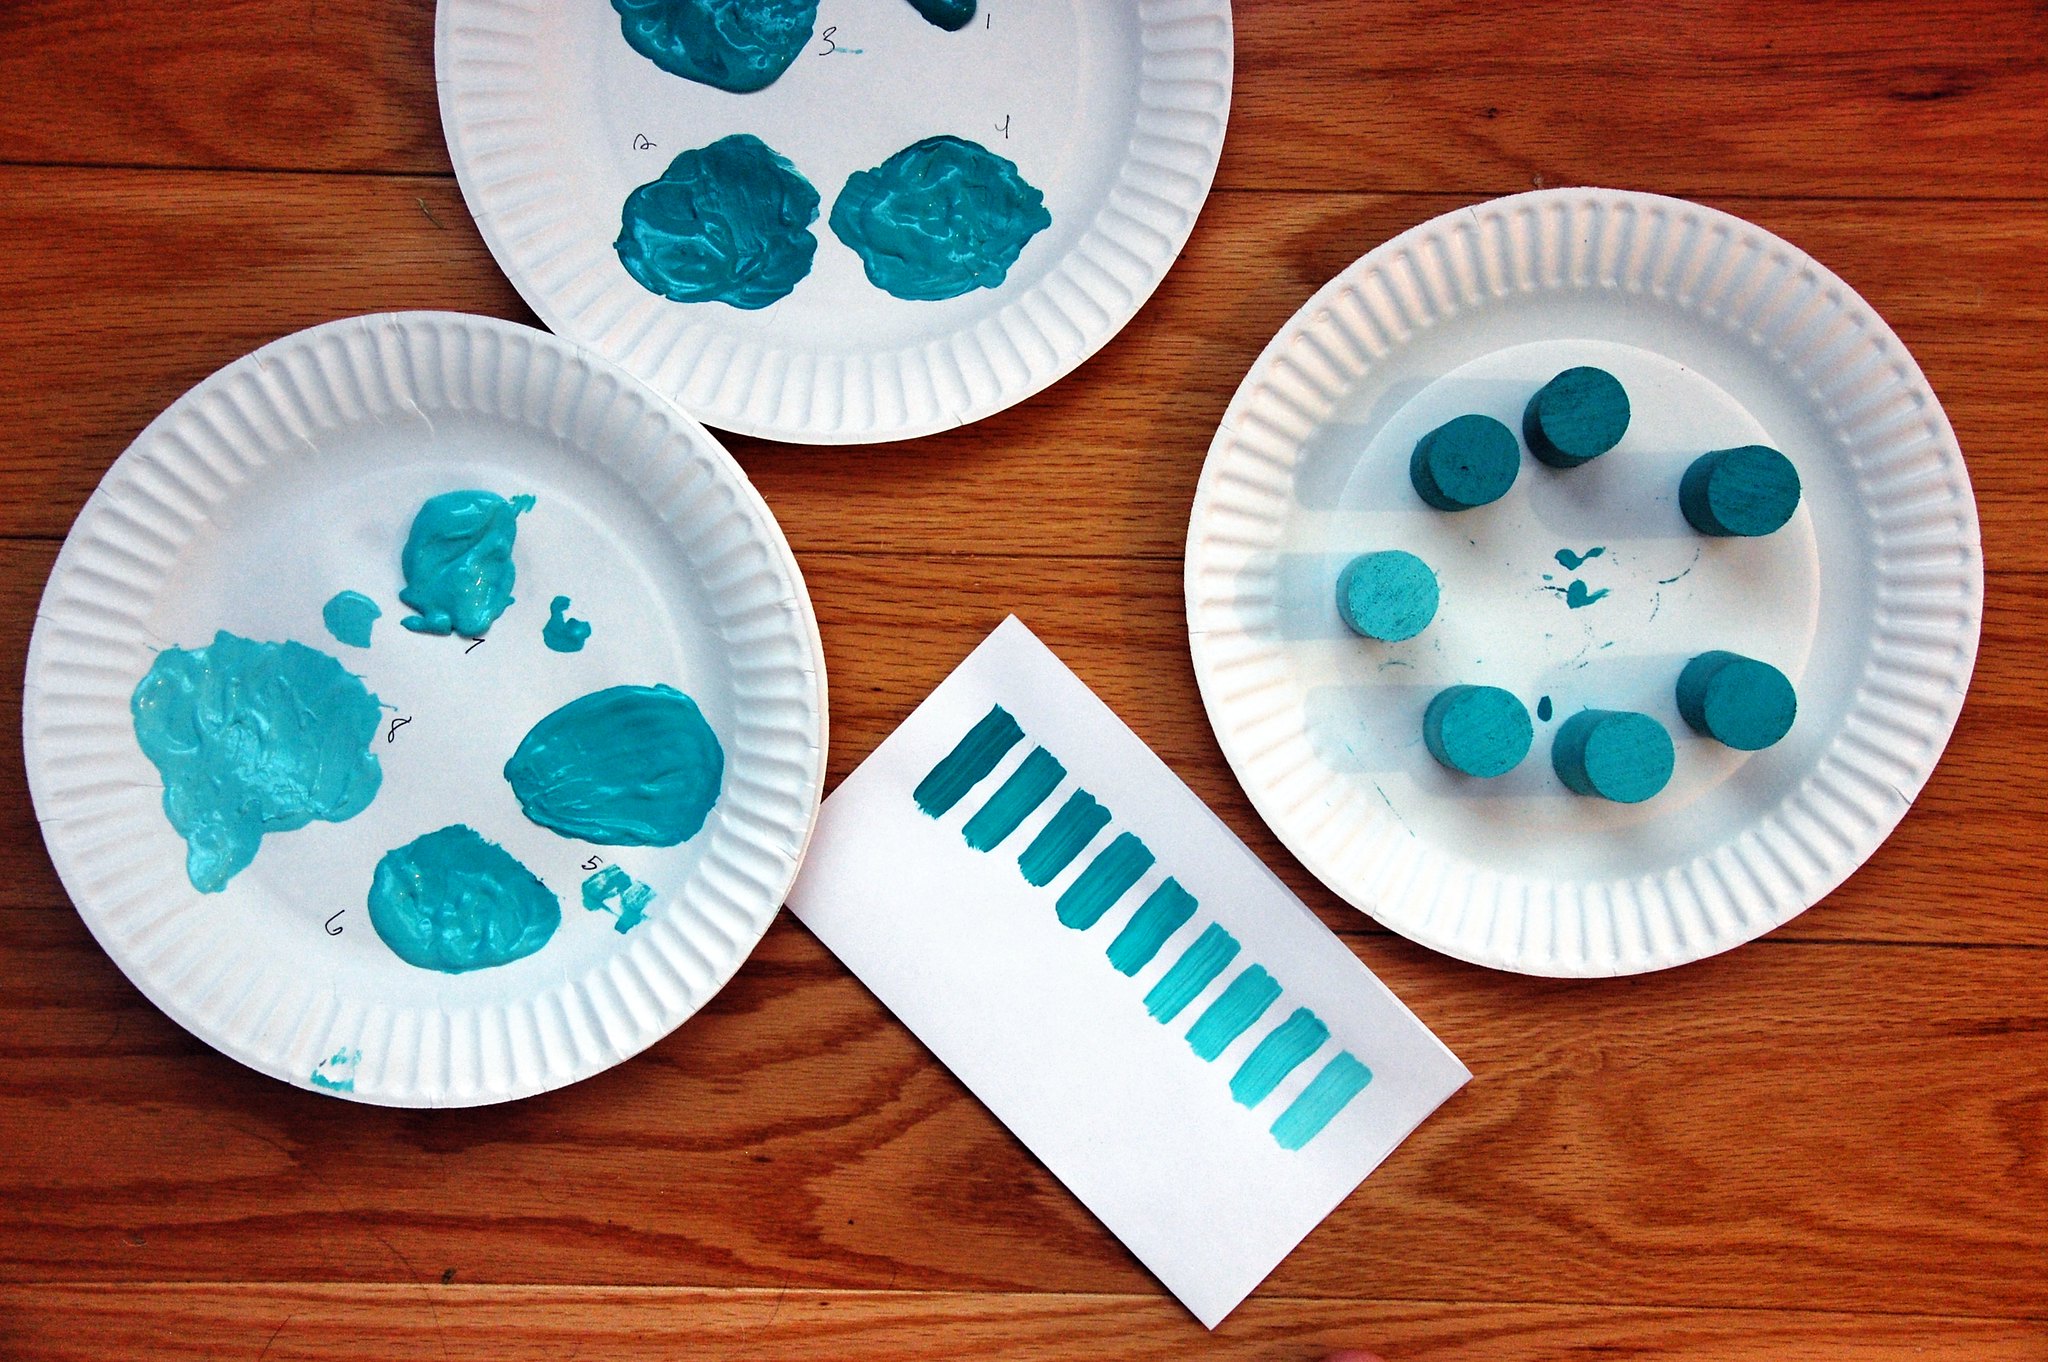
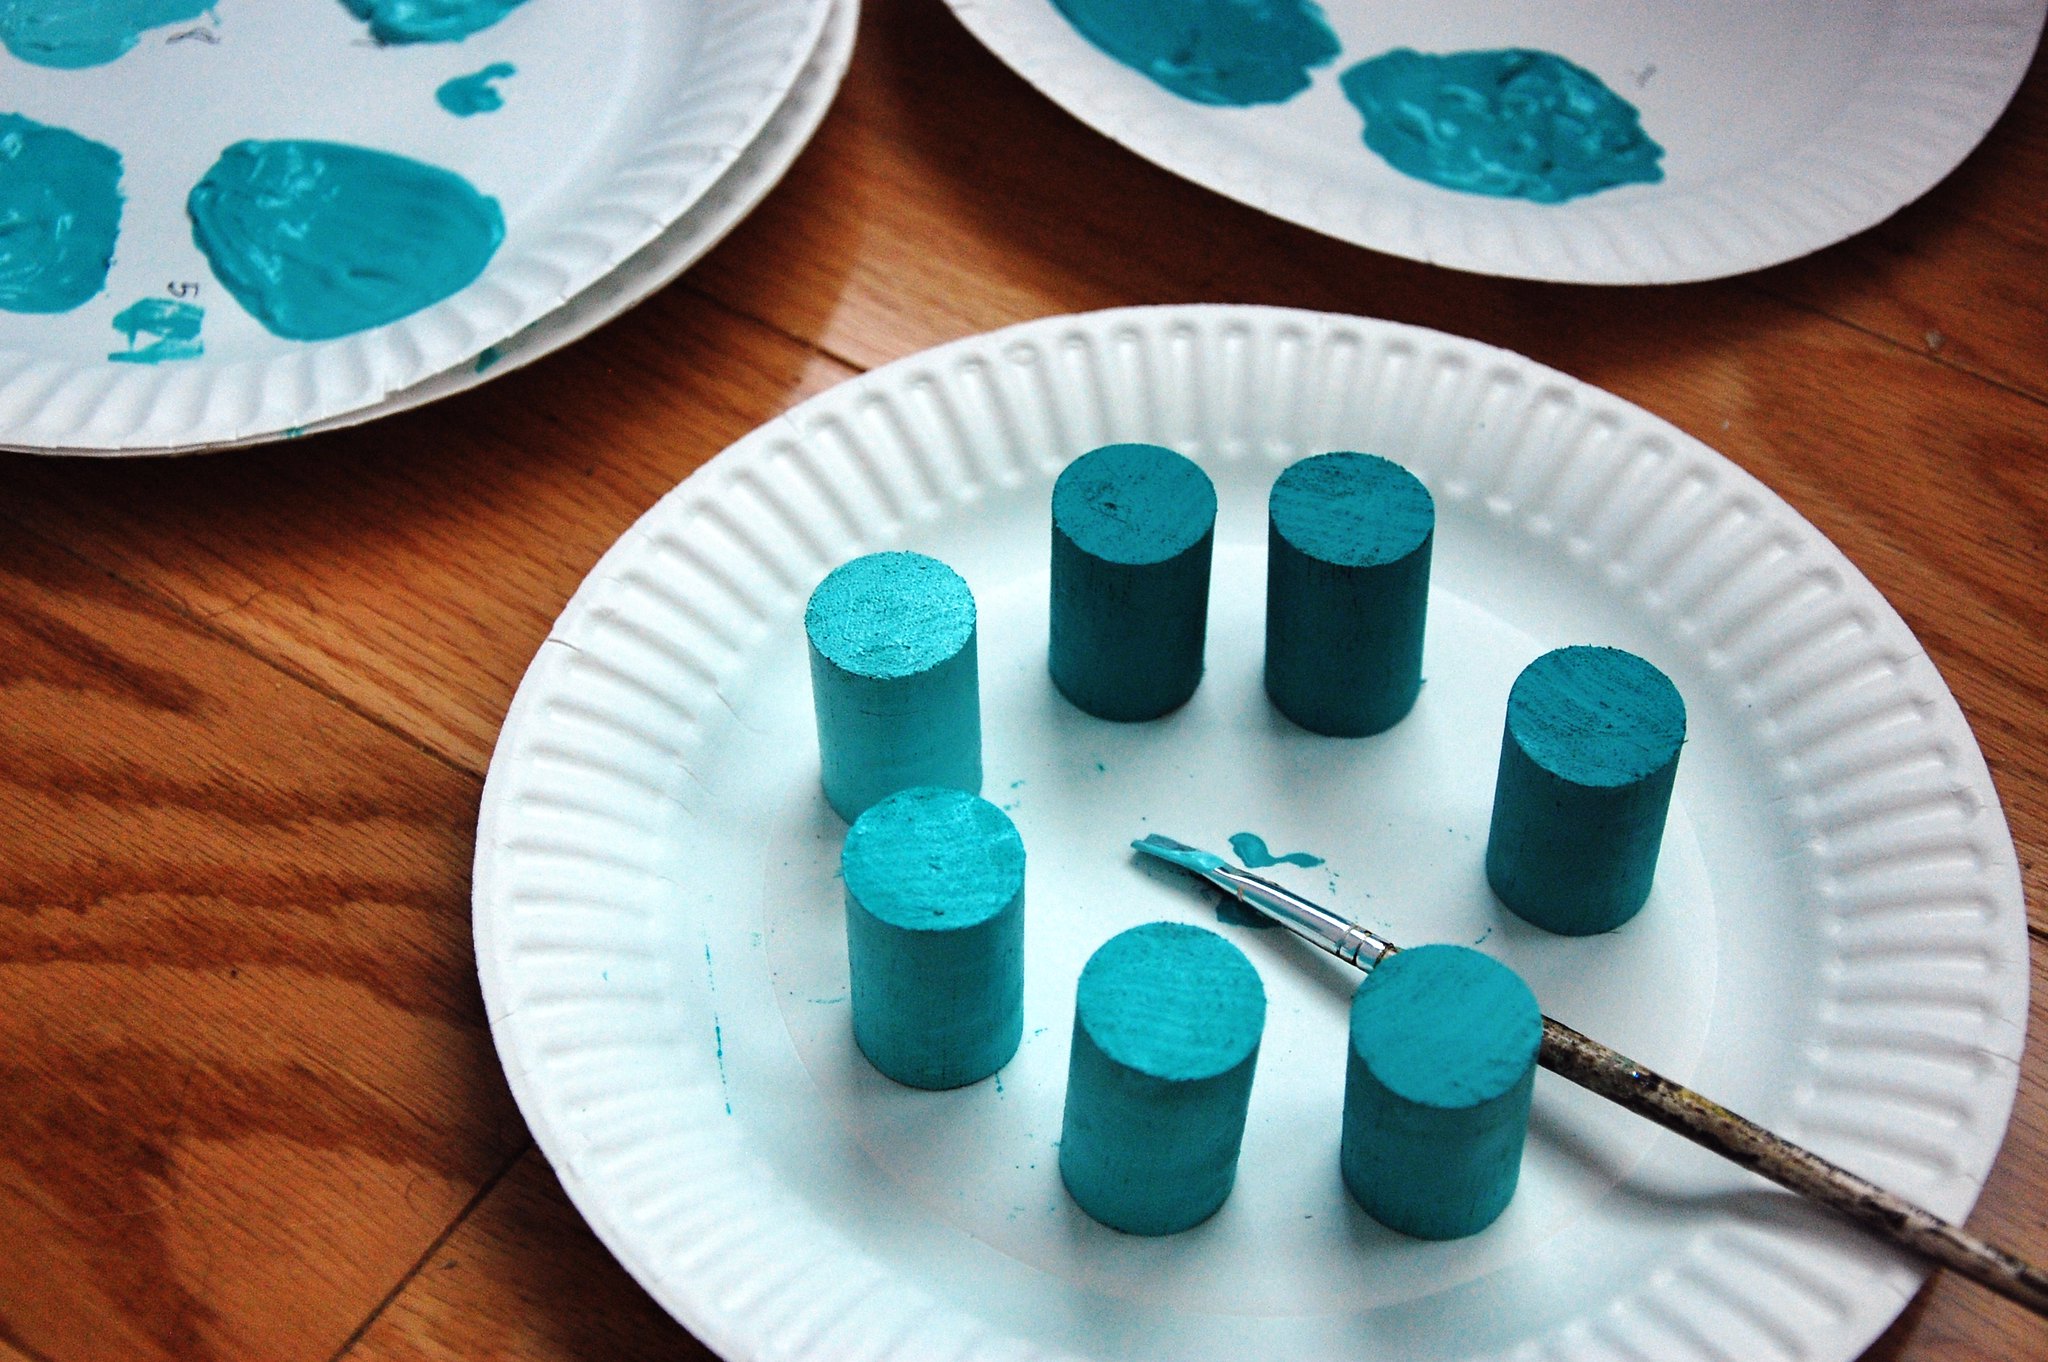
long piece of wood for the back (I used balsa wood from AC Moore) // dowel sawed into 1.5" pieces // strong glue that adheres wood // craft paint in a lighter and darker hue // white craft paint to mix fading colors // wood stain // cheesecloth to wipe stain on with // paintbrushesMix up your paints by adding a varying amounts of white paint to your colors. I tested out the fading colors by painting them along a sheet of paper and then marking their order so I wouldn't mix them up. Paint one peg in each color.
Stain back piece by painting it on then wiping it in with the cheesecloth.
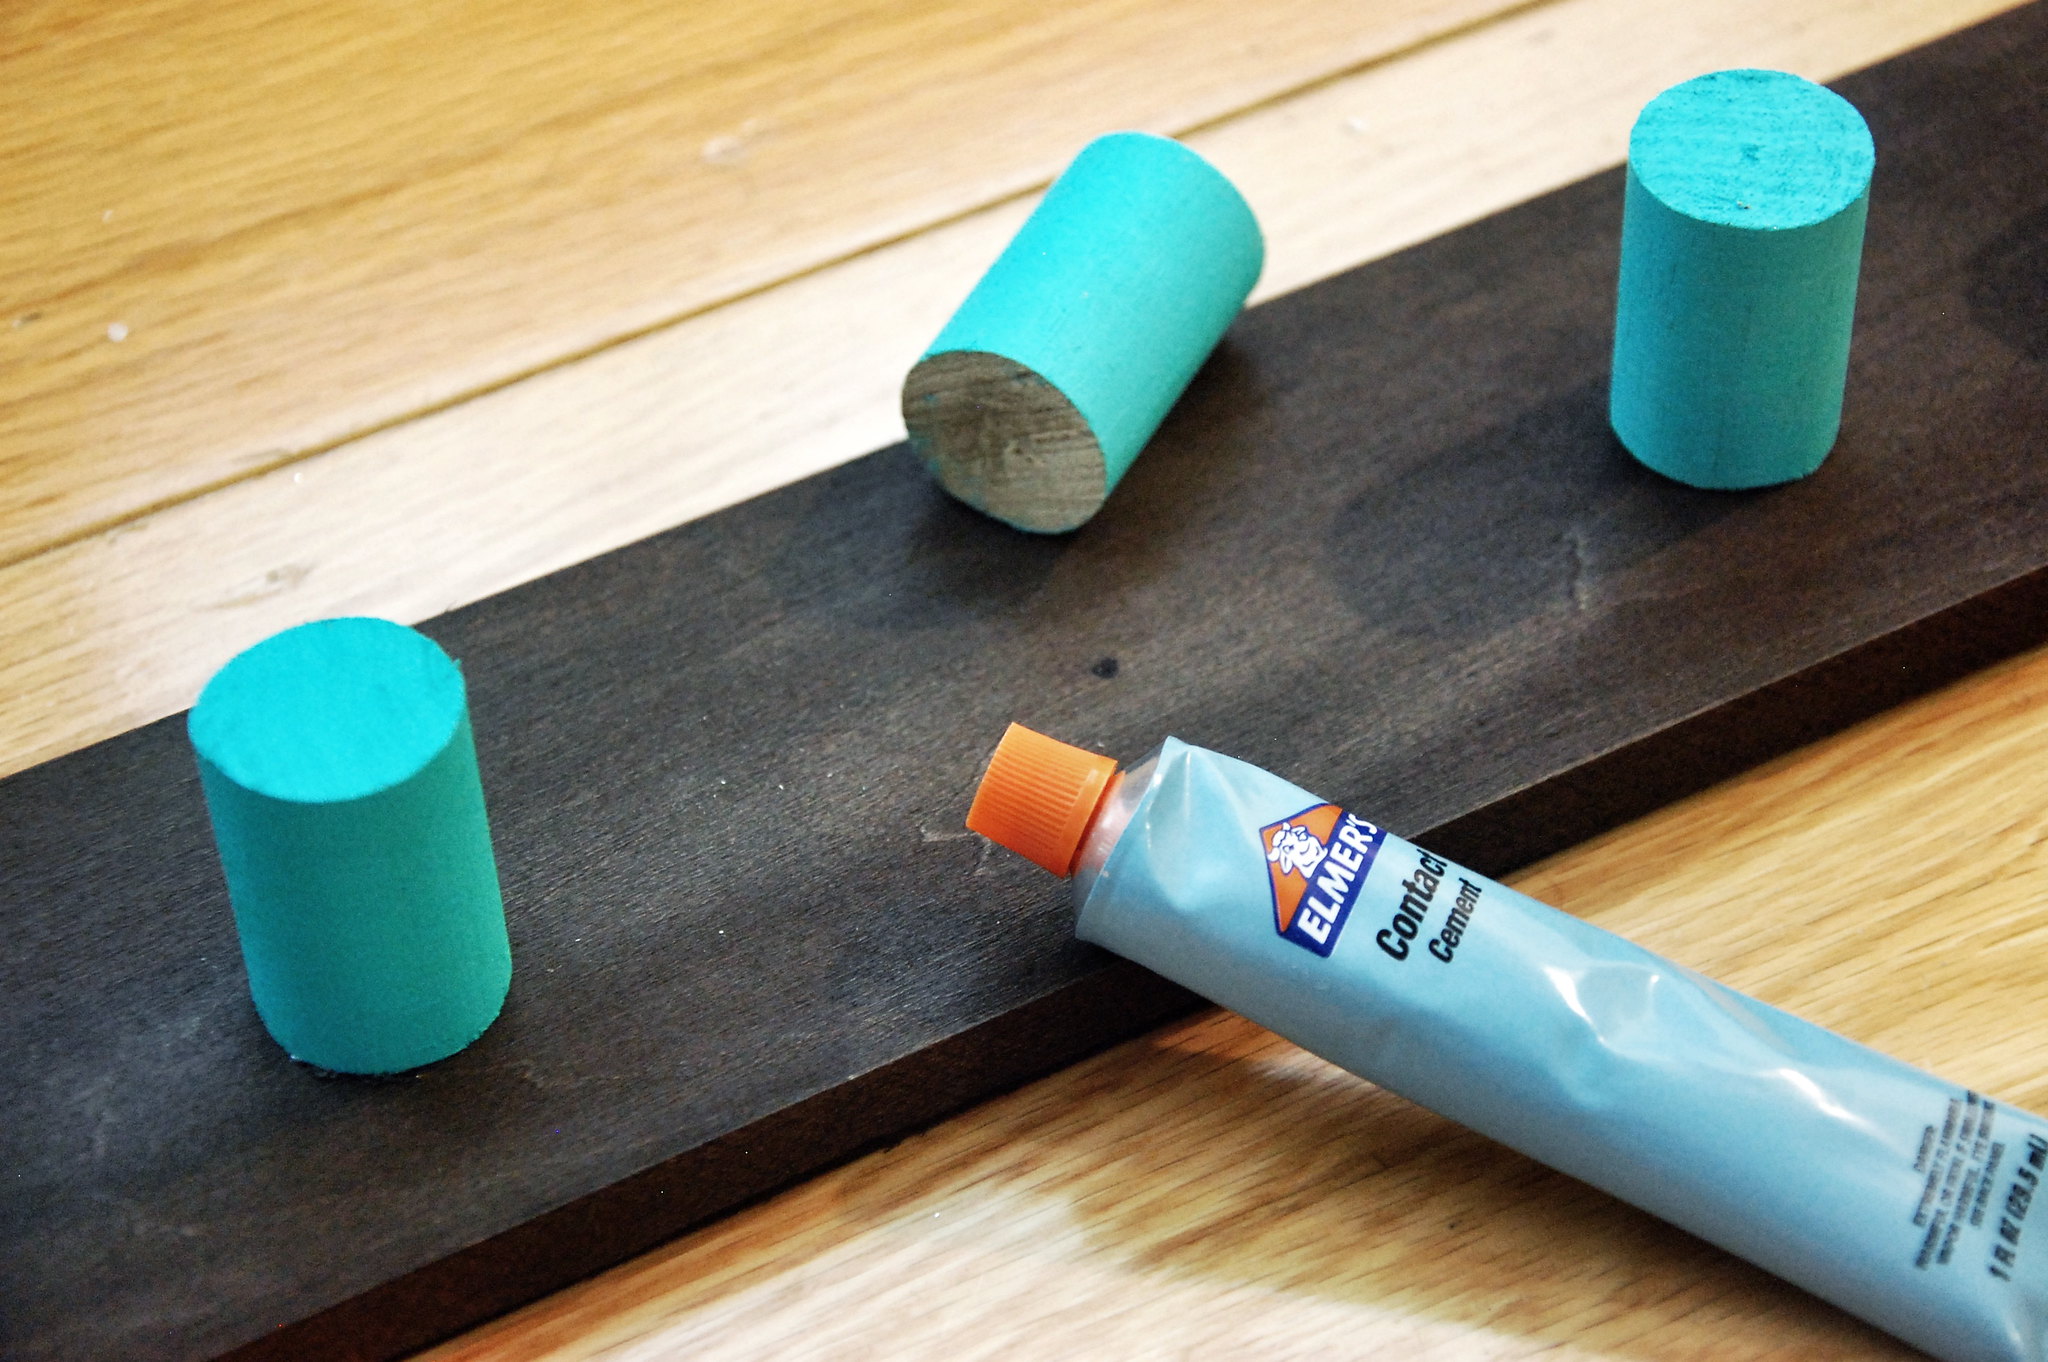
Line your pegs along the board where you want them and mark their places with a marker. Glue them down and let set.
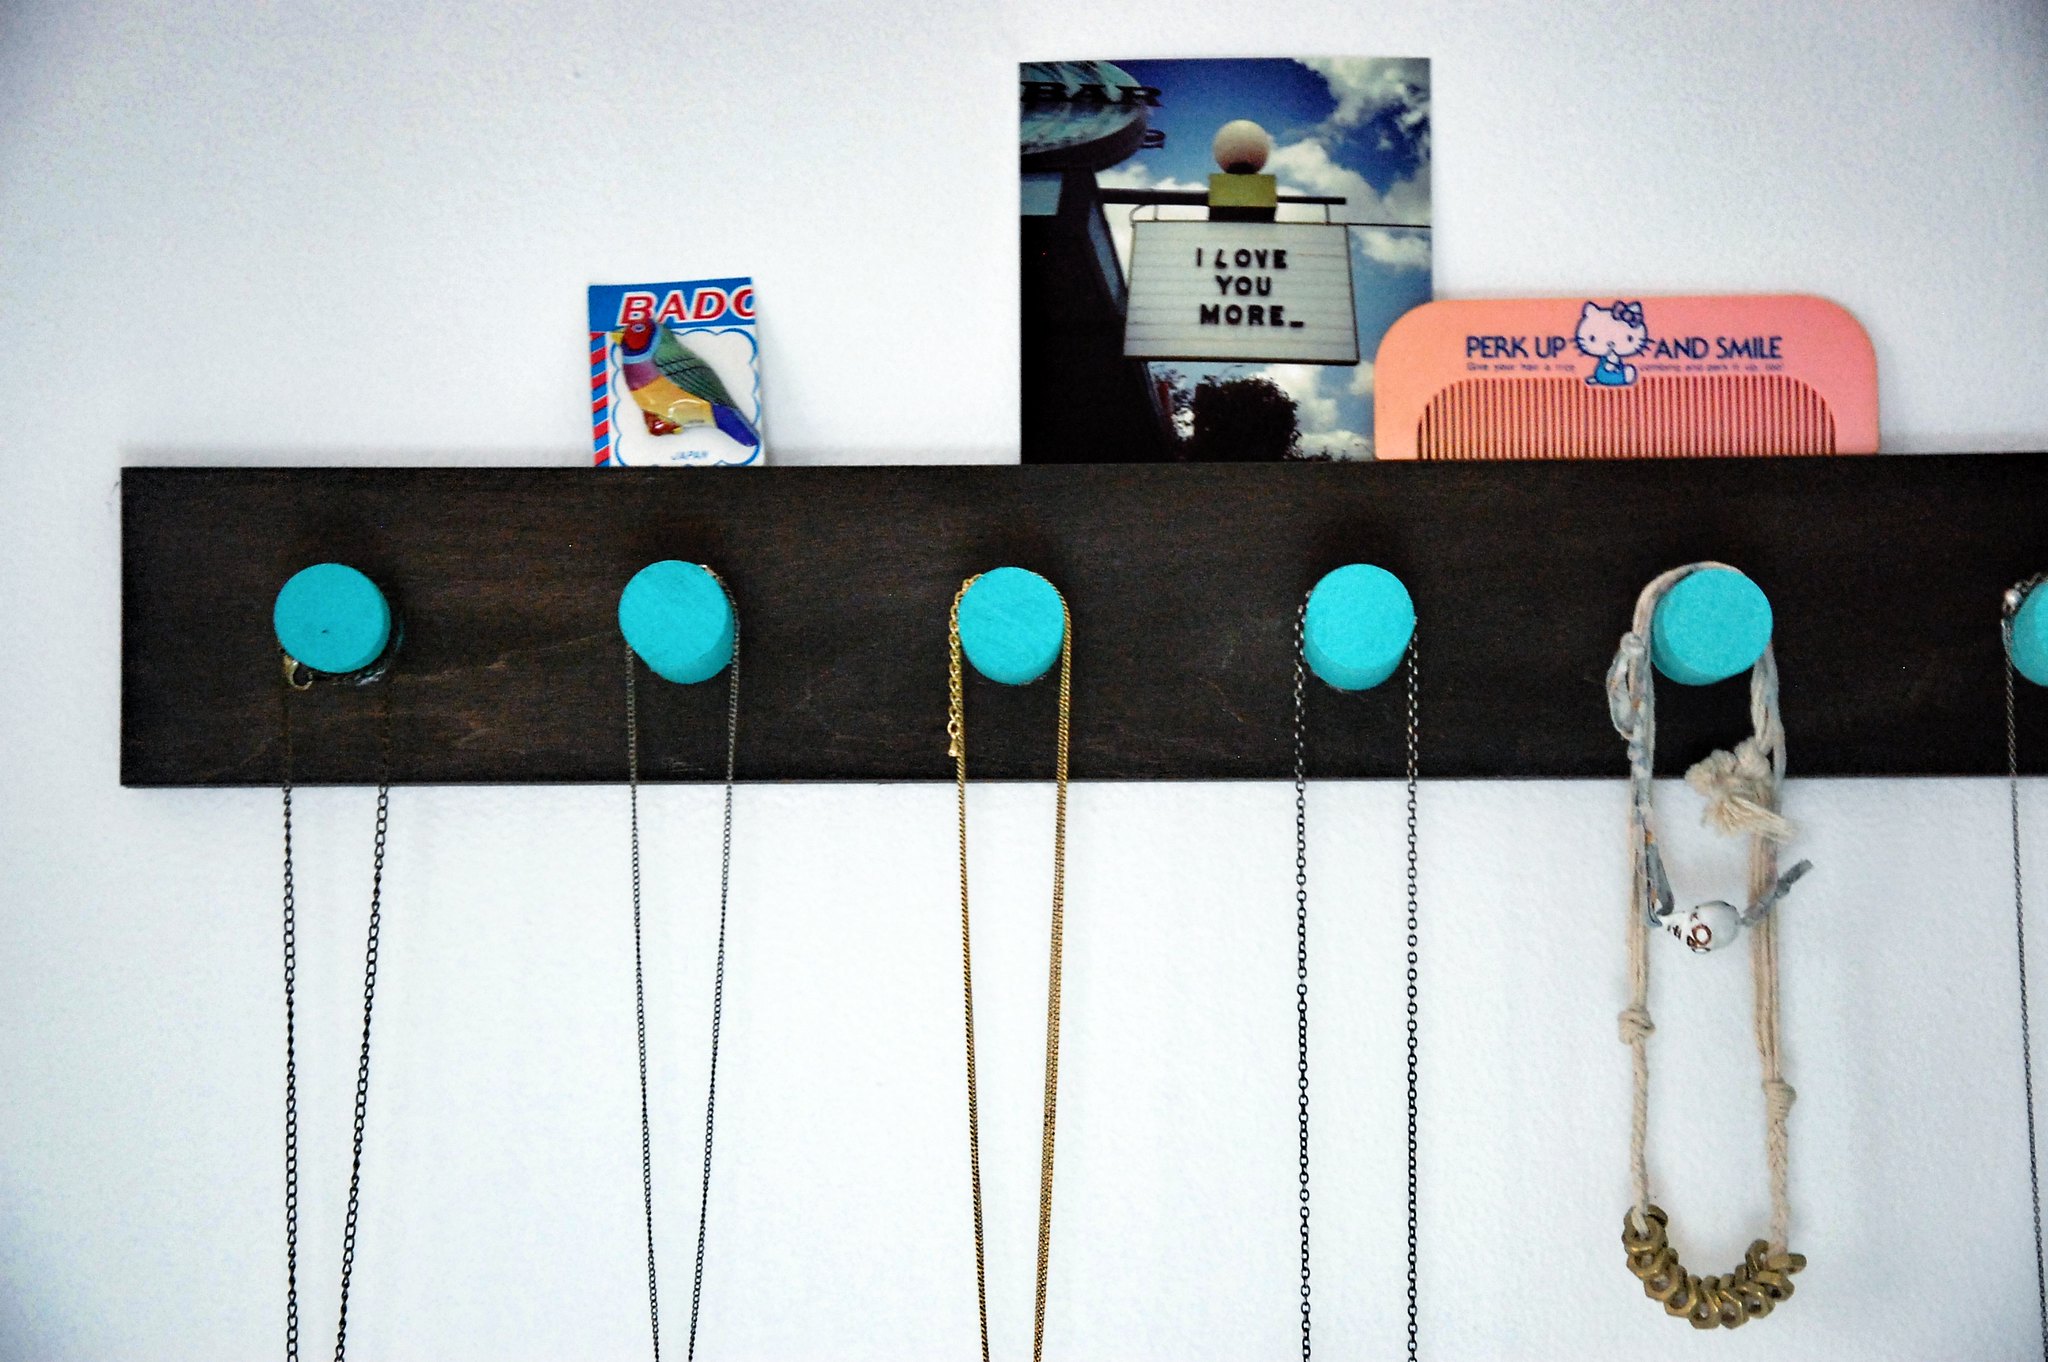
When the glue dried I hung my rack up with command strips. I especially love this necklace rack because the piece of wood I used for the back is about half an inch thick - perfect for holding a picture and a few little knick knacks. Hope some of you get some use out of this idea! It could be changed and adapted for all sorts of things.



I love this! I just redid my closet, and added a pegboard with copper hooks to hold all of my various necklaces that didn't have a home, but I think I might make one of these too! I could always get more necklaces ;) or hang small bags + scarfs on it! Maybe even coffee cups, this is lovely!
ReplyDeletexo
Oh my goodness, I neeeed this and I love the colors you used!
ReplyDeleteThat looks lovely! Very nice DIY, thank you<3
ReplyDeleteblueeyednightowl.blogspot.com
cool DIY - I especially like that the fact that it doubles as a little shelf! the new header is looking good too :)
ReplyDeleteVery pretty! Thank you for sharing!
ReplyDeleteI didn't have dowels on hand, so used wine corks instead. It looks great! Thank you for the inspiration
ReplyDelete@georgie
ReplyDeleteOoh I love that you used cork! I'm glad you like what you came up with - thanks for stopping by!
This is such a nice idea! Going on my list of must-do’s. Thank you for sharing, Jesse!
ReplyDeleteI love it. Looks simple and beautiful. Love it!!
ReplyDeleteAnd I would need a new necklace rack, too. :)
www.behindmydesk.com
really easy to make but so lovely :)
ReplyDeletevisit me, and if you have the pleasure, follow my blog, i do make tutorials too.. the last post is about earrings, i would really appreciate your comment and to know what you think about it, because i'm at the beginning.
http://elenatorelliphoto.blogspot.it/
Wow what a great idea! I have been looking for a unique way to display jewelry
ReplyDeleteThis turned out beautifully, you did an amazing job! Love the details.
ReplyDeleteMarlene
Great data Indianapolis Health Insurance company
where do you get half inch thick balsa?! AC Moore had very very thin strips. and what kind of command strips did you use? something like double sided tape?
ReplyDeleteIt's a simple but practical diy project. Thanks.
ReplyDeleteI'm thinking corks could be used instead of the extra task of cutting a dowel. The corks are just the right size and are lighter than the dowels.
ReplyDeleteWhile jewels might be a young lady's closest companion, they are likewise held to be defensive and otherworldly. Jewels are related with an affection that is steady and quiet. Precious stones are the charm for genuine sweethearts. talisman necklace
ReplyDelete