teacup
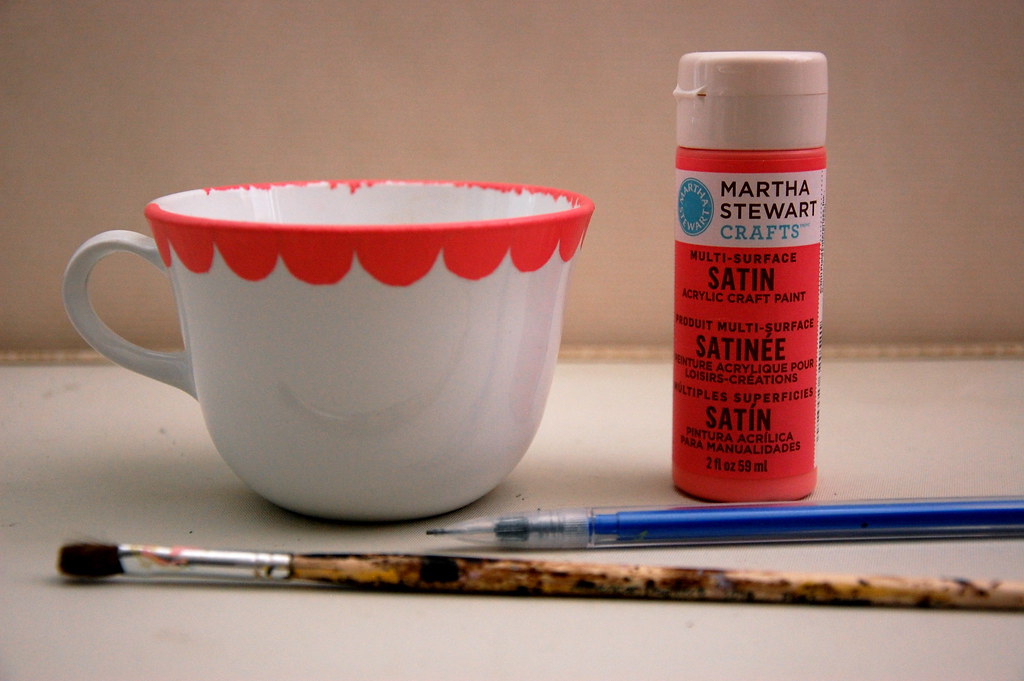
glass paint (I used Martha Stewart multi-surface satin paint)
paint brush
fabric
stuffing
embroidery floss
needle
something circular to trace (I used a pyrex container)
hot glue gun + sticks
scissors
*a note on circle size: I was unsure of how big to make the fabric circle at first so I just had to expirement; a bigger circle makes a puffier pincushion like the cloud cup*
1. Paint your teacup and let dry. I'm bad at painting free hand so I sketched my design first with pencil, then painted over it. Any pencil marks left showing will wipe off.
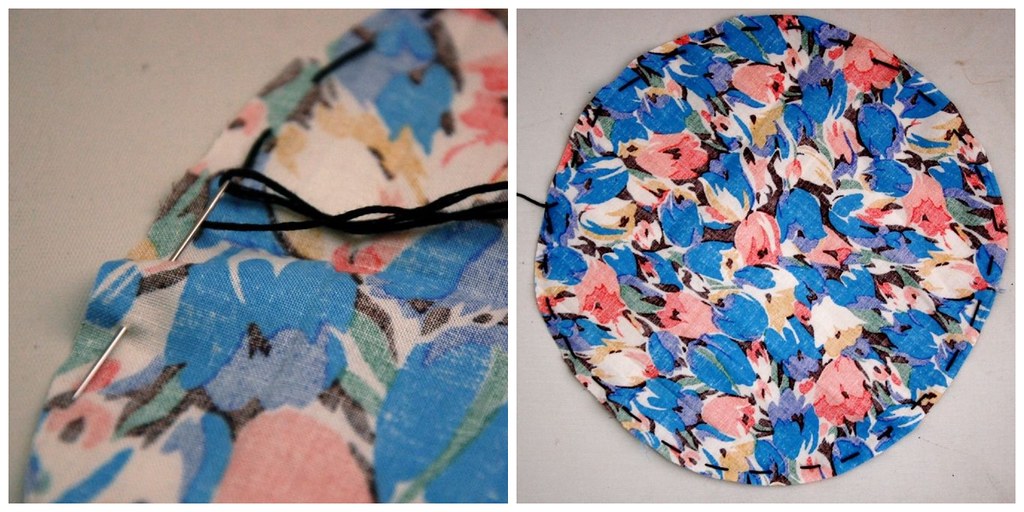
2. Trace your circle onto fabric and cut out.
3. With the needle and embroidery floss, stitch around the edge of the circle with stitches about a centimeter long. When you're done the stitches won't show at all.
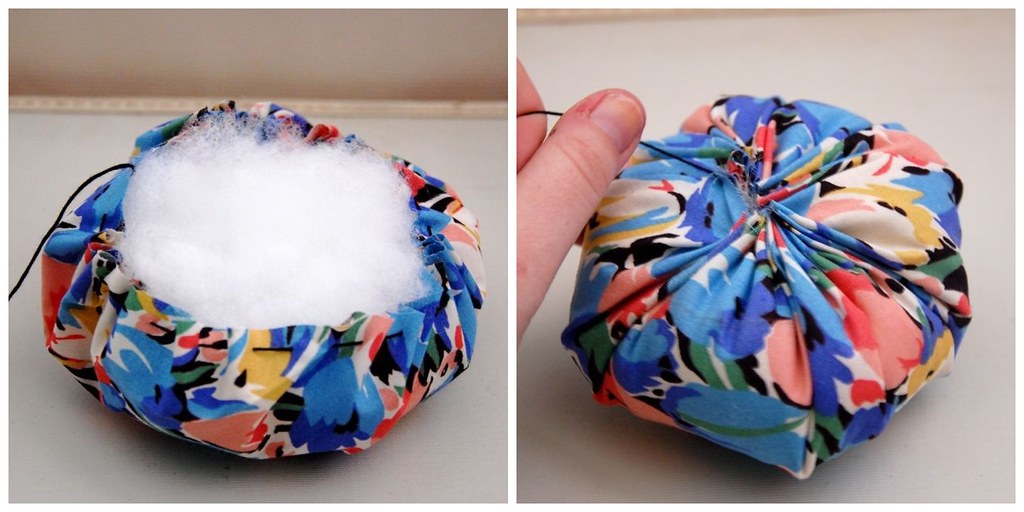
4. Pull the embroidery floss and cinch up the circle so it's like a bowl. Fill with stuffing until round and firm. Finish cinching the circle closed and tie off the floss so it stays tight.
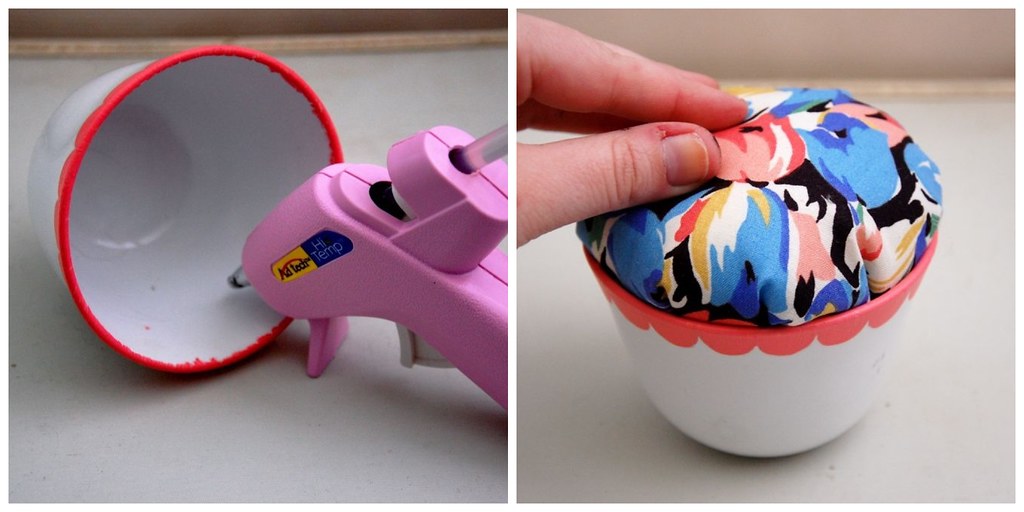
5. Apply hot glue around the whole inside of the tea cup, about half an inch down from the top. Push cushion down into the cup and hold until glue dries.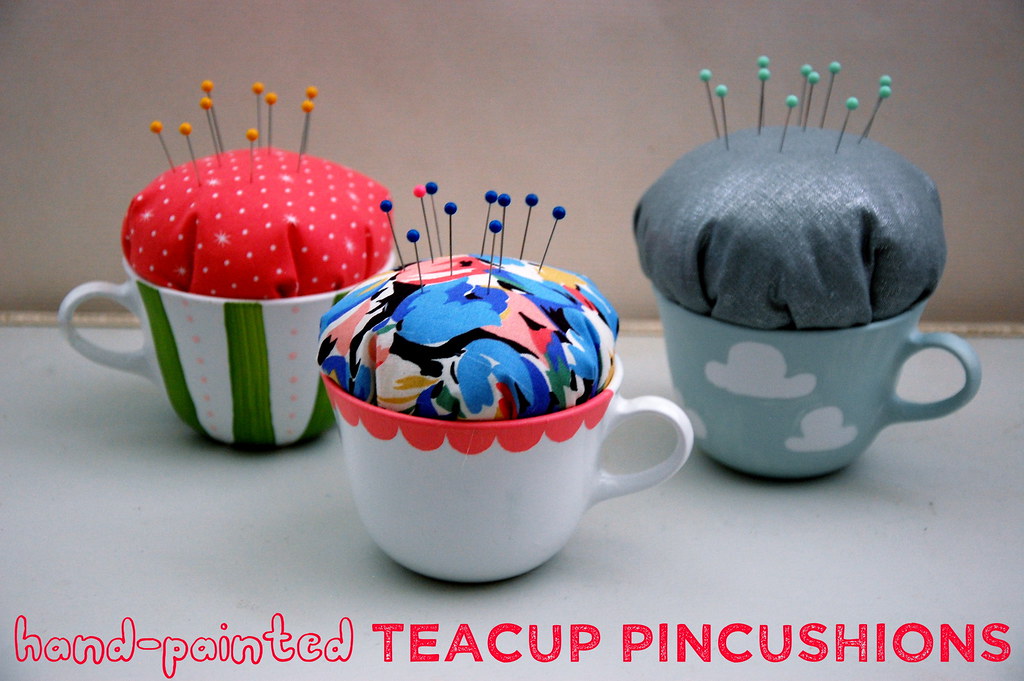




I love your tea cups. I will have to try this project.
ReplyDeleteI love the tea cups. Could I possibly ask what you would sell them for? I have made a couple and will bring to the next craft show at the retirement community that I live in. That is a problem because they are all retired people, mostly, and are sort of cheap.
ReplyDeleteAny ideas on the price. Thanks.
This is way too cute! Thanks for the share!!
ReplyDeleteIs wonderful, i love it :)
ReplyDelete