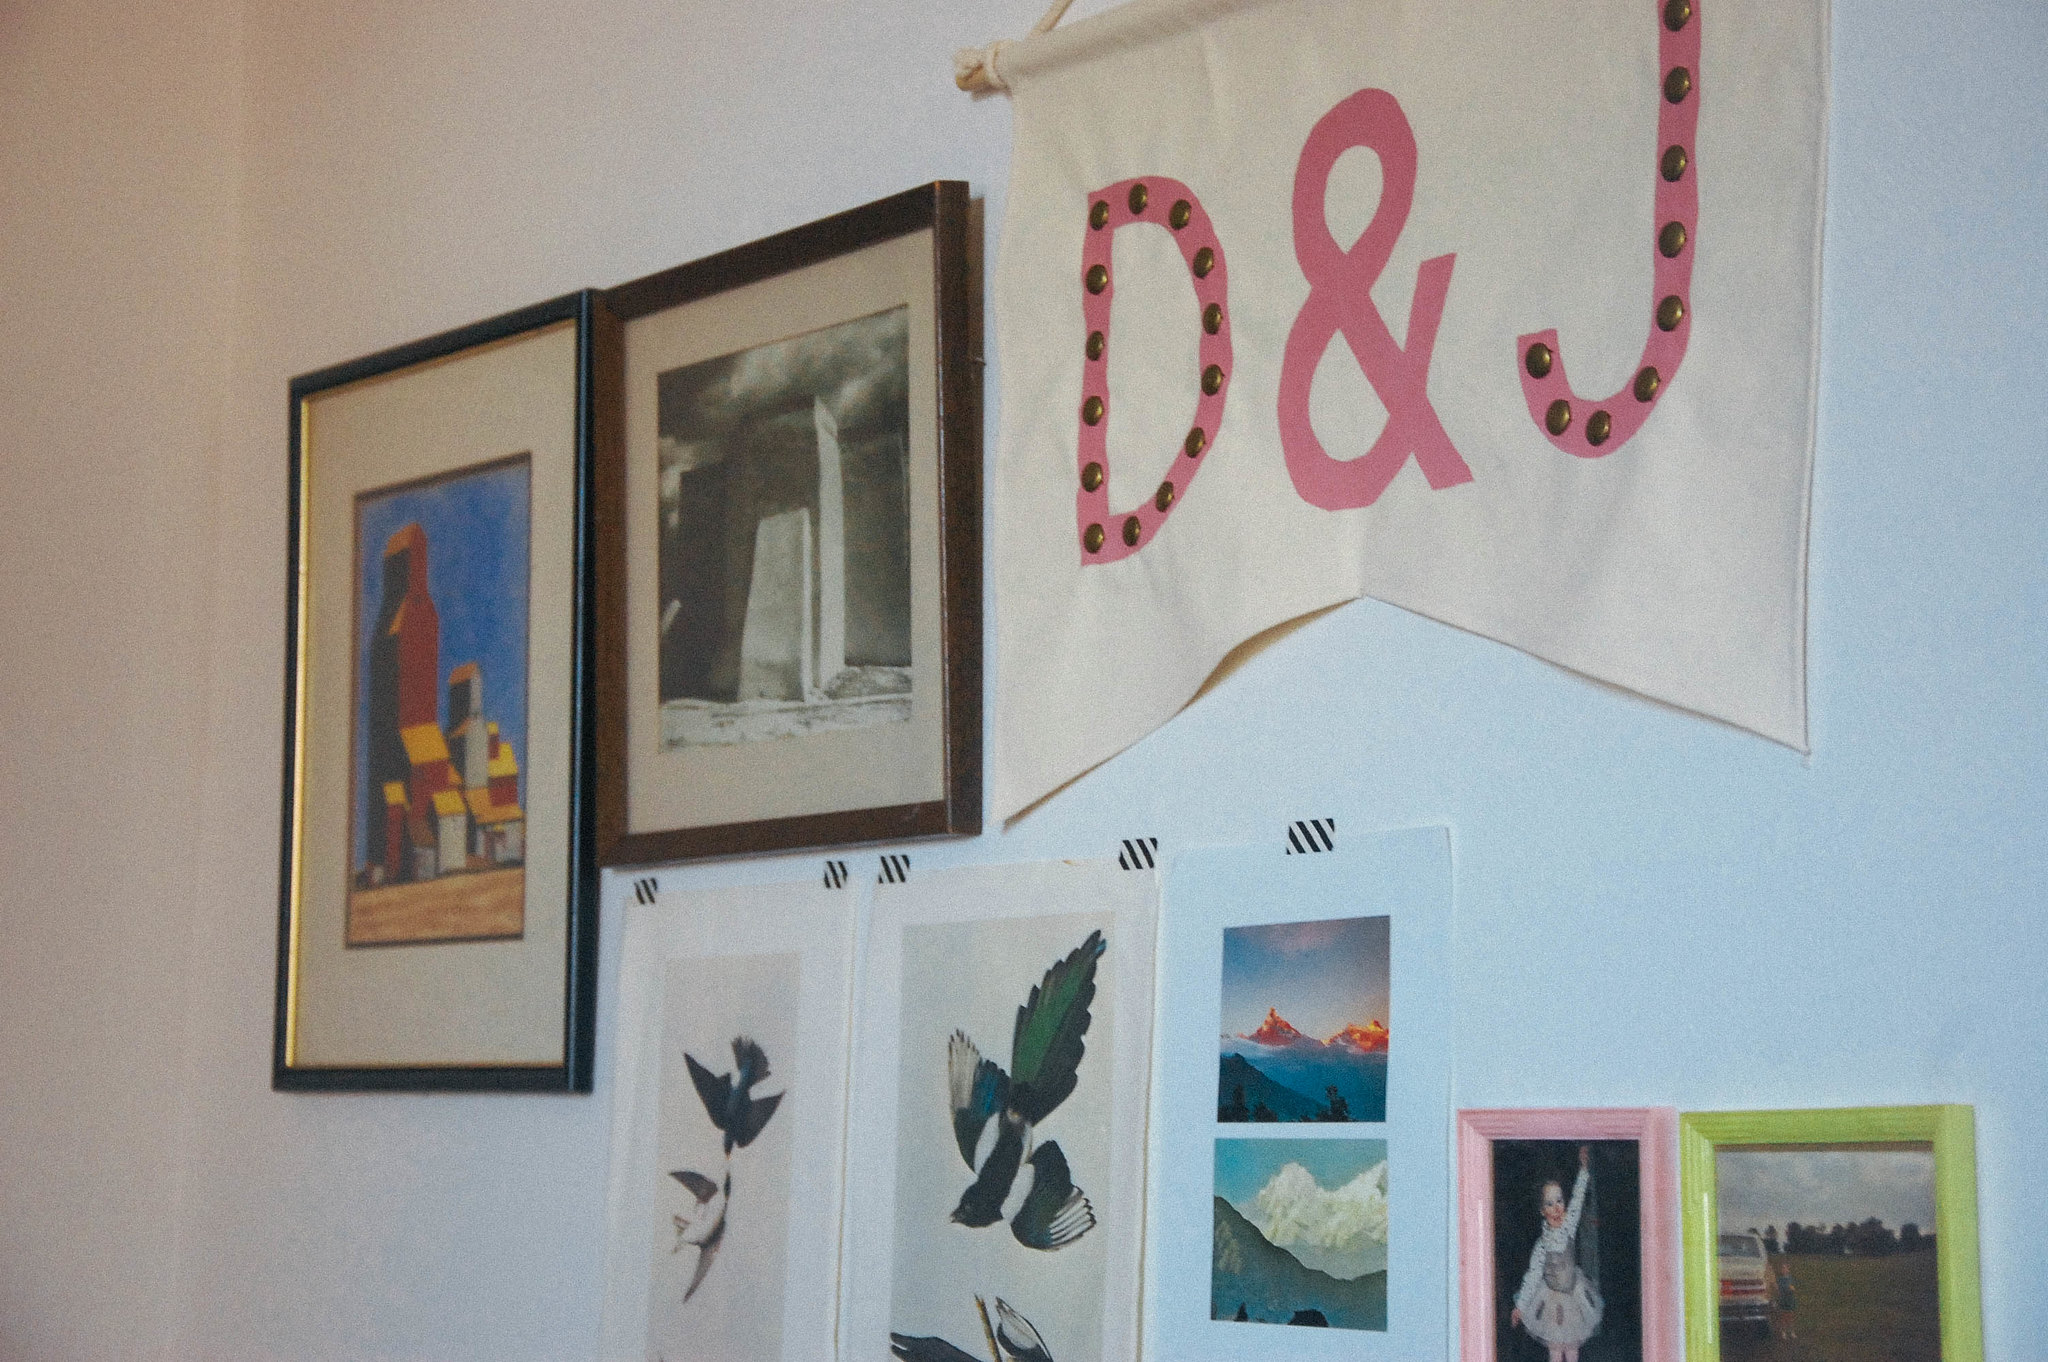
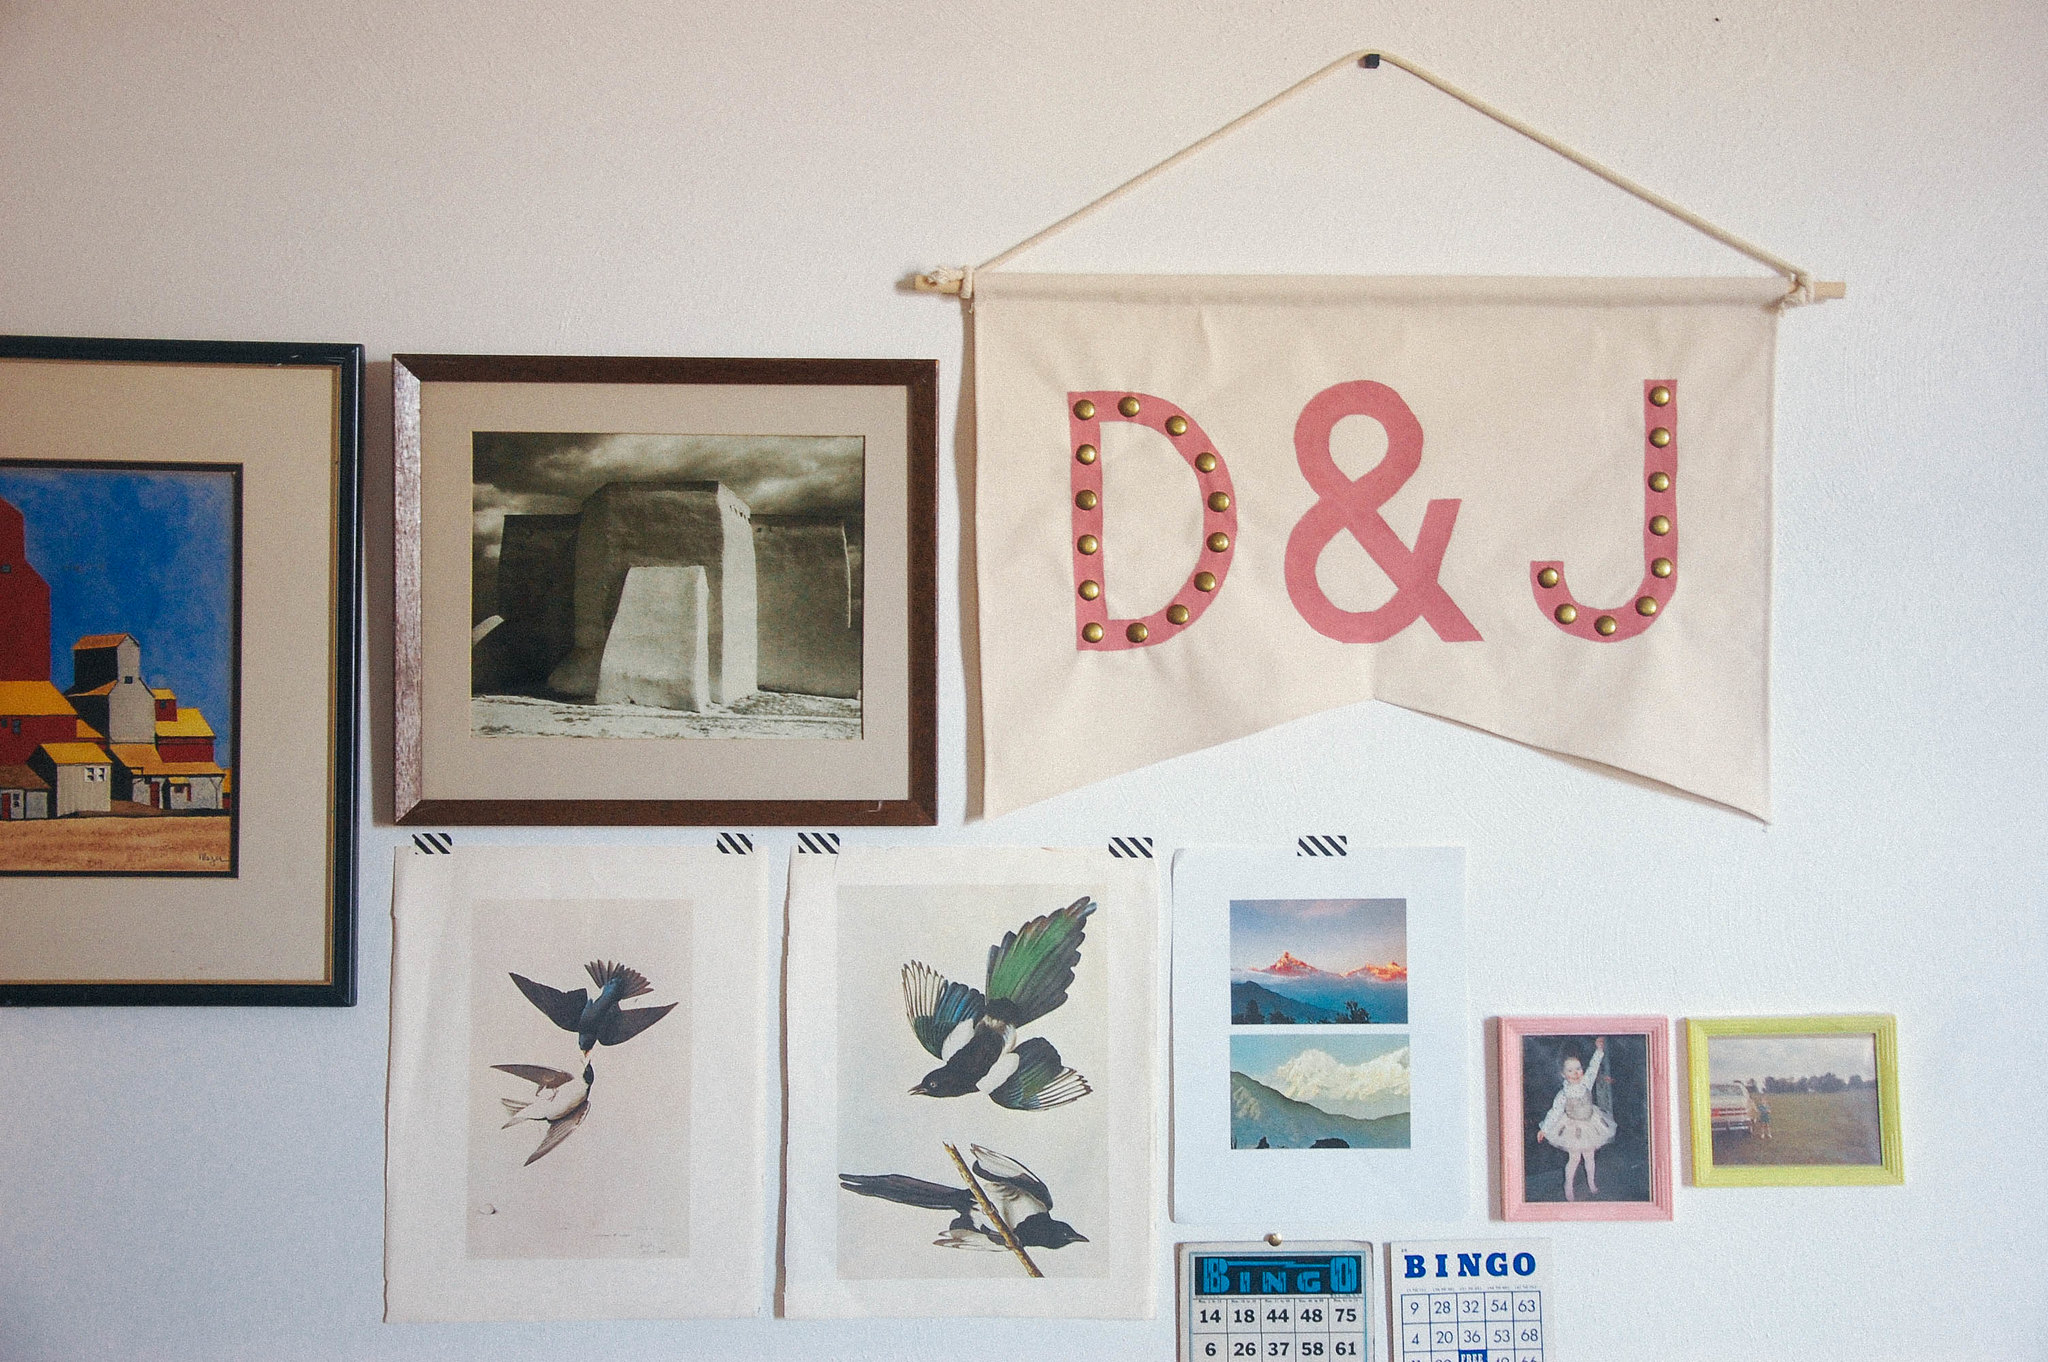
I have been wanting to make something to hang in our living room wall that added a personal touch to the space. I really like banners and initial things...so this is what I came up with.
supplies:
canvas material
wooden dowel
craft paint
cotton rope
paintbrushes
print-out of letters to trace
scissors
sewing machine
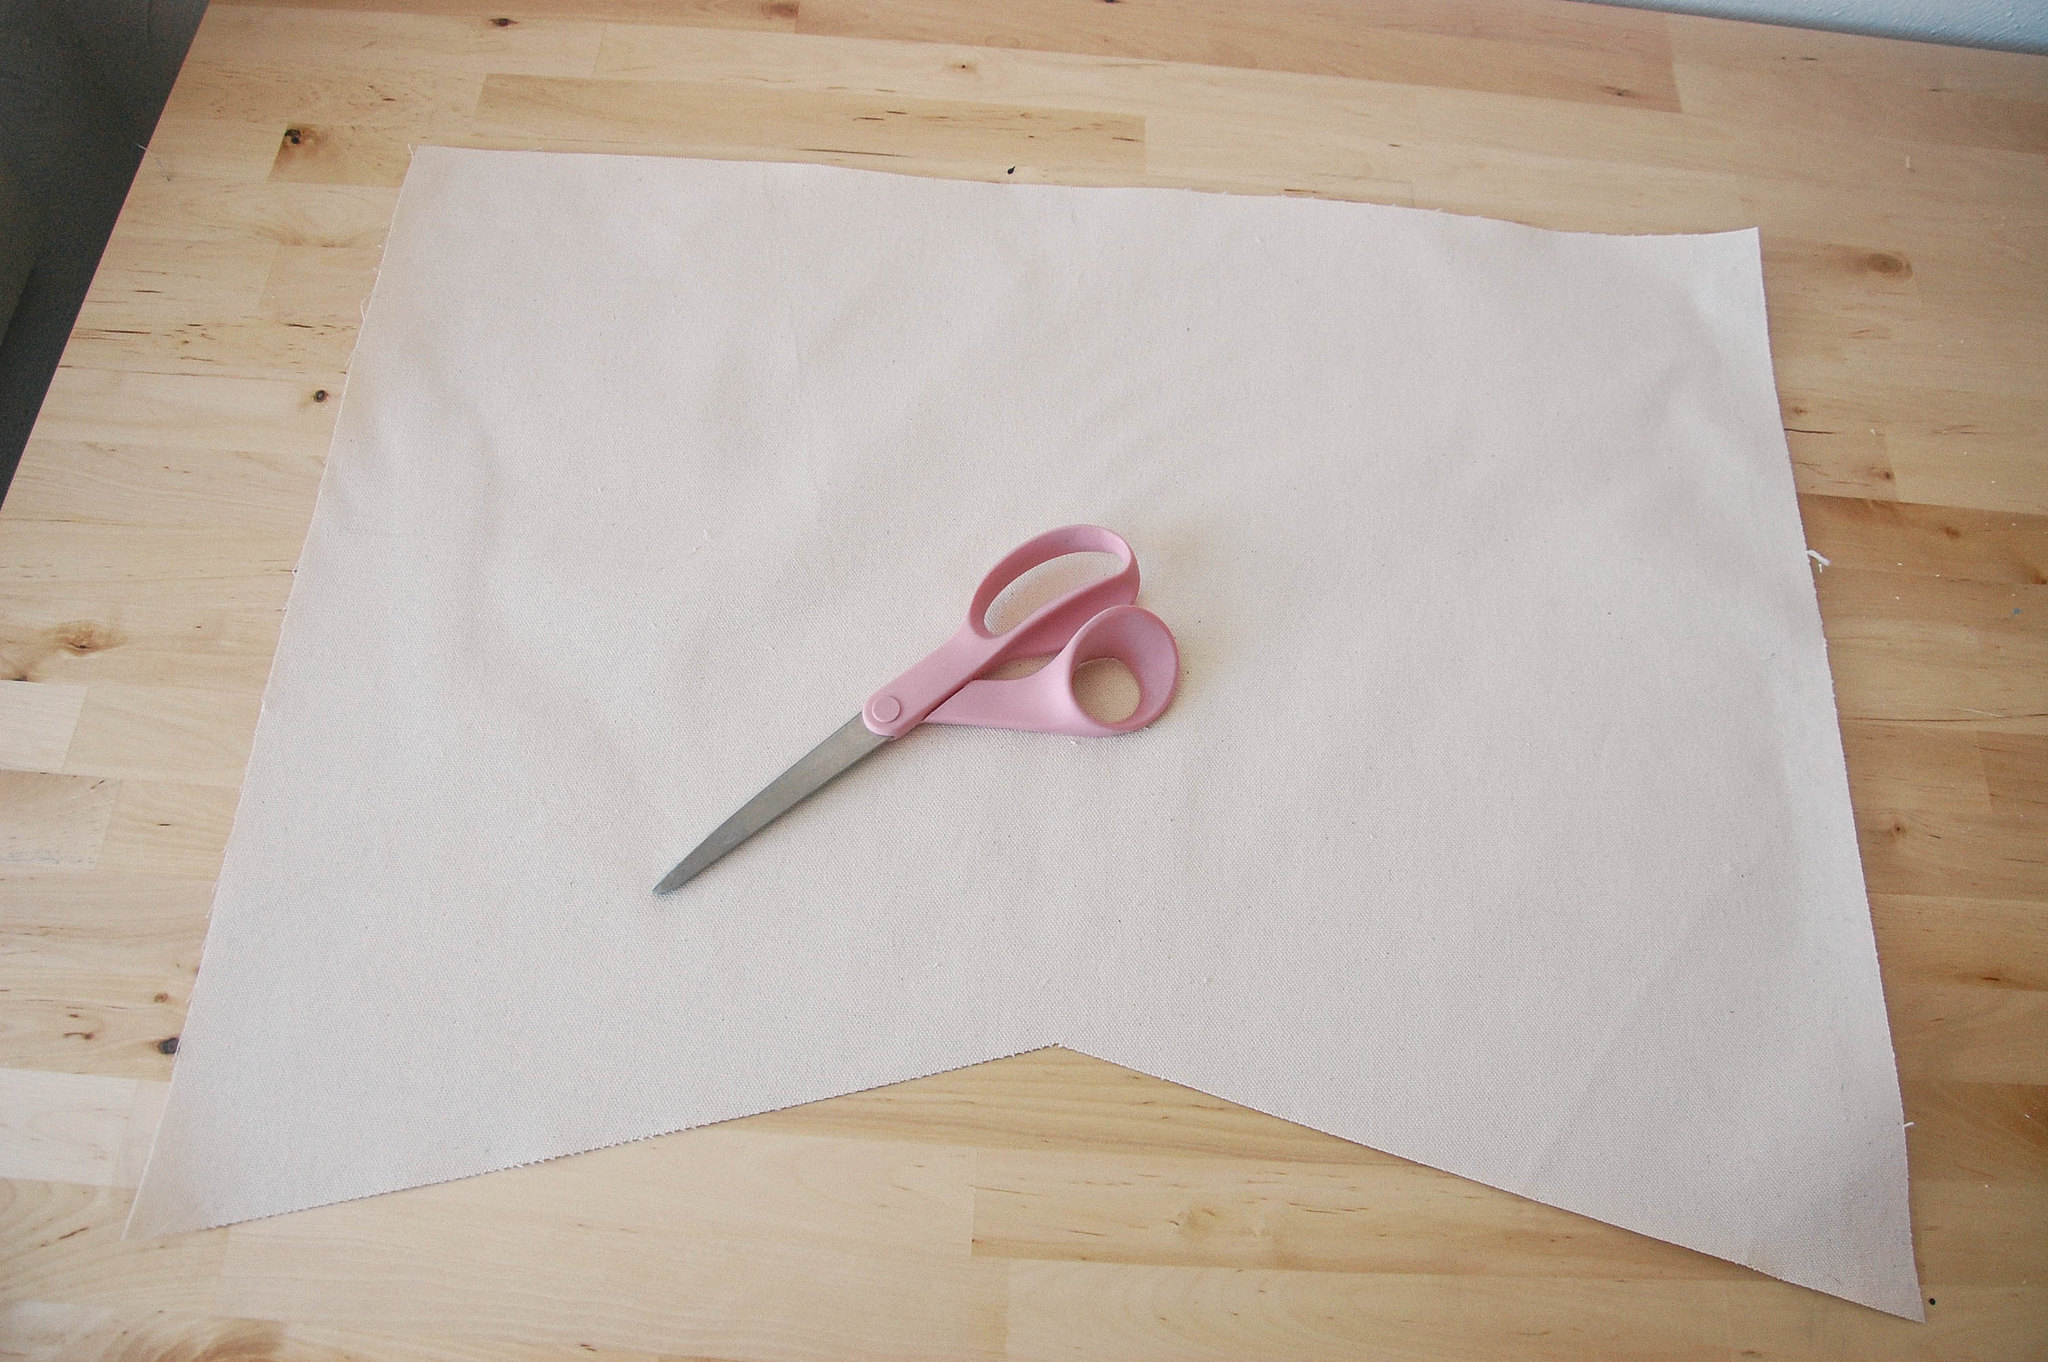
Start by cutting out the shape you want your banner to be. I didn't make a pattern - I just placed my letters on the canvas and used them to judge how big to make the banner. Keep in mind that you will be folding in all the edges about a half an inch to stop fraying.
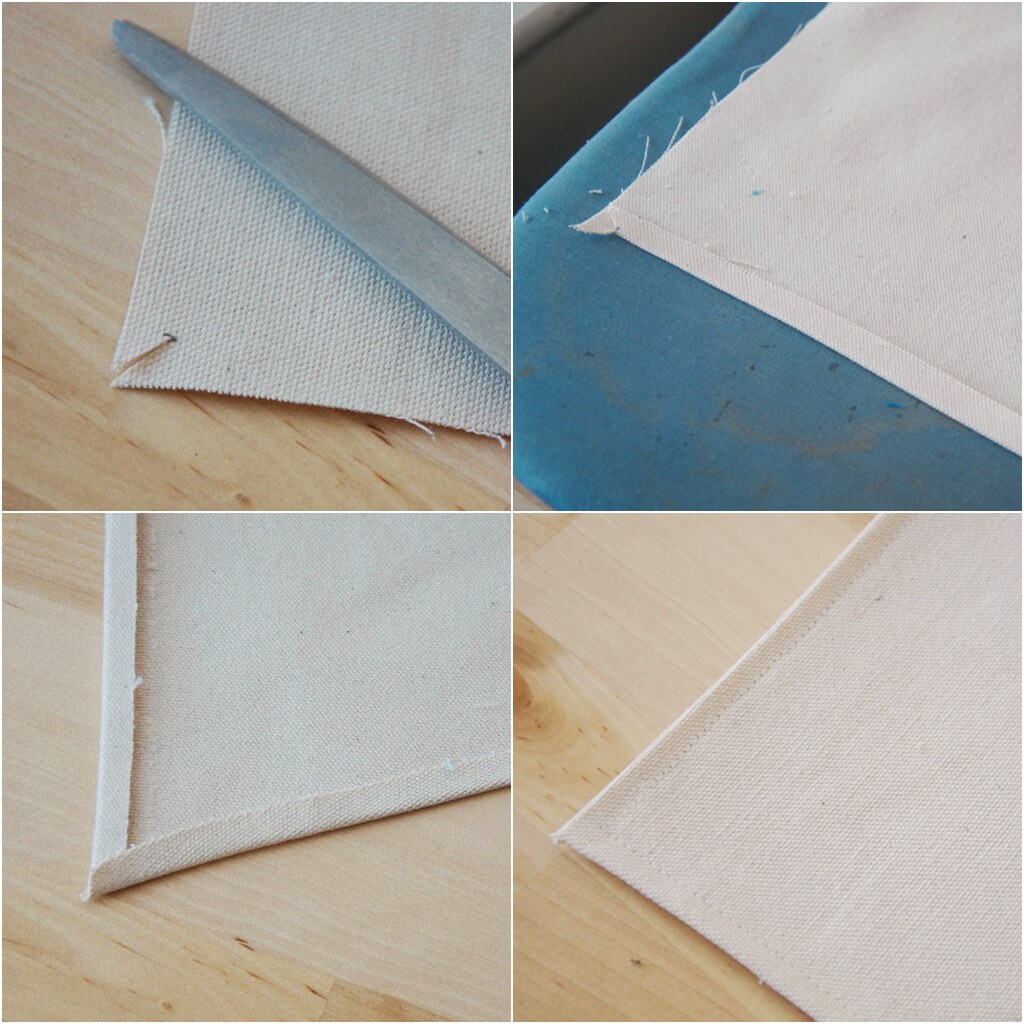
Next, cut into all your corners a half-inch. Then fold and iron all your sides in about a half-inch as well. Trim any corners you need to so they don't stick out on the front. After all the sides are ironed down, stitch around the edges, making sure to catch the folded fabric on the back. Then everything will look nice and neat on the front.
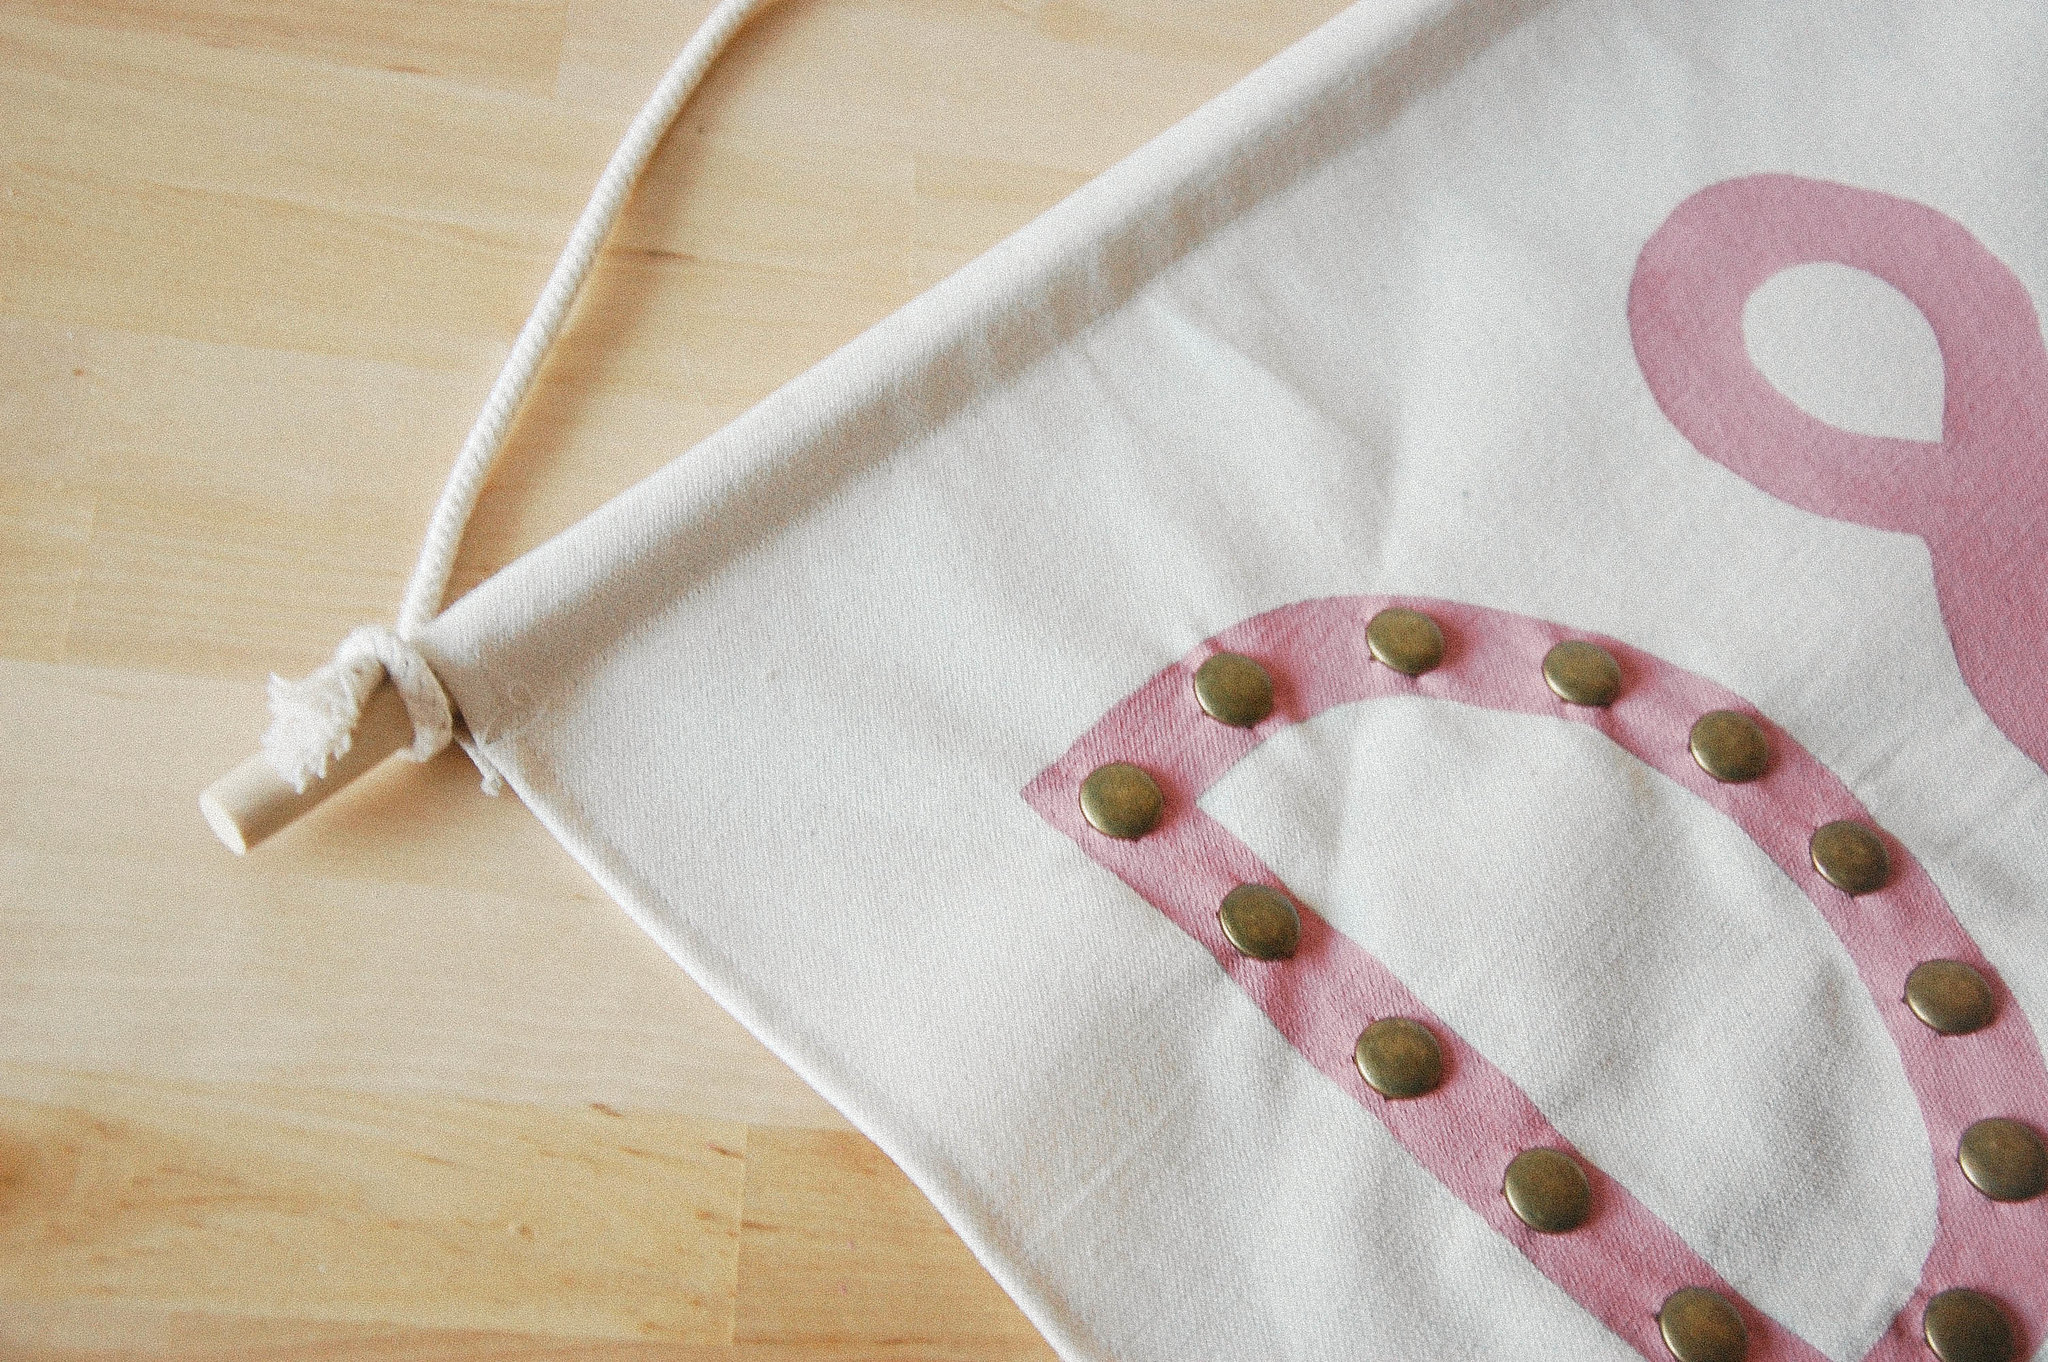
Saw your dowel to the right size if necessary. Fold your fabric over the dowel to see how much space it will need to slide into the fabric. Pin that fold over and sew it down, leaving enough space for the dowel.
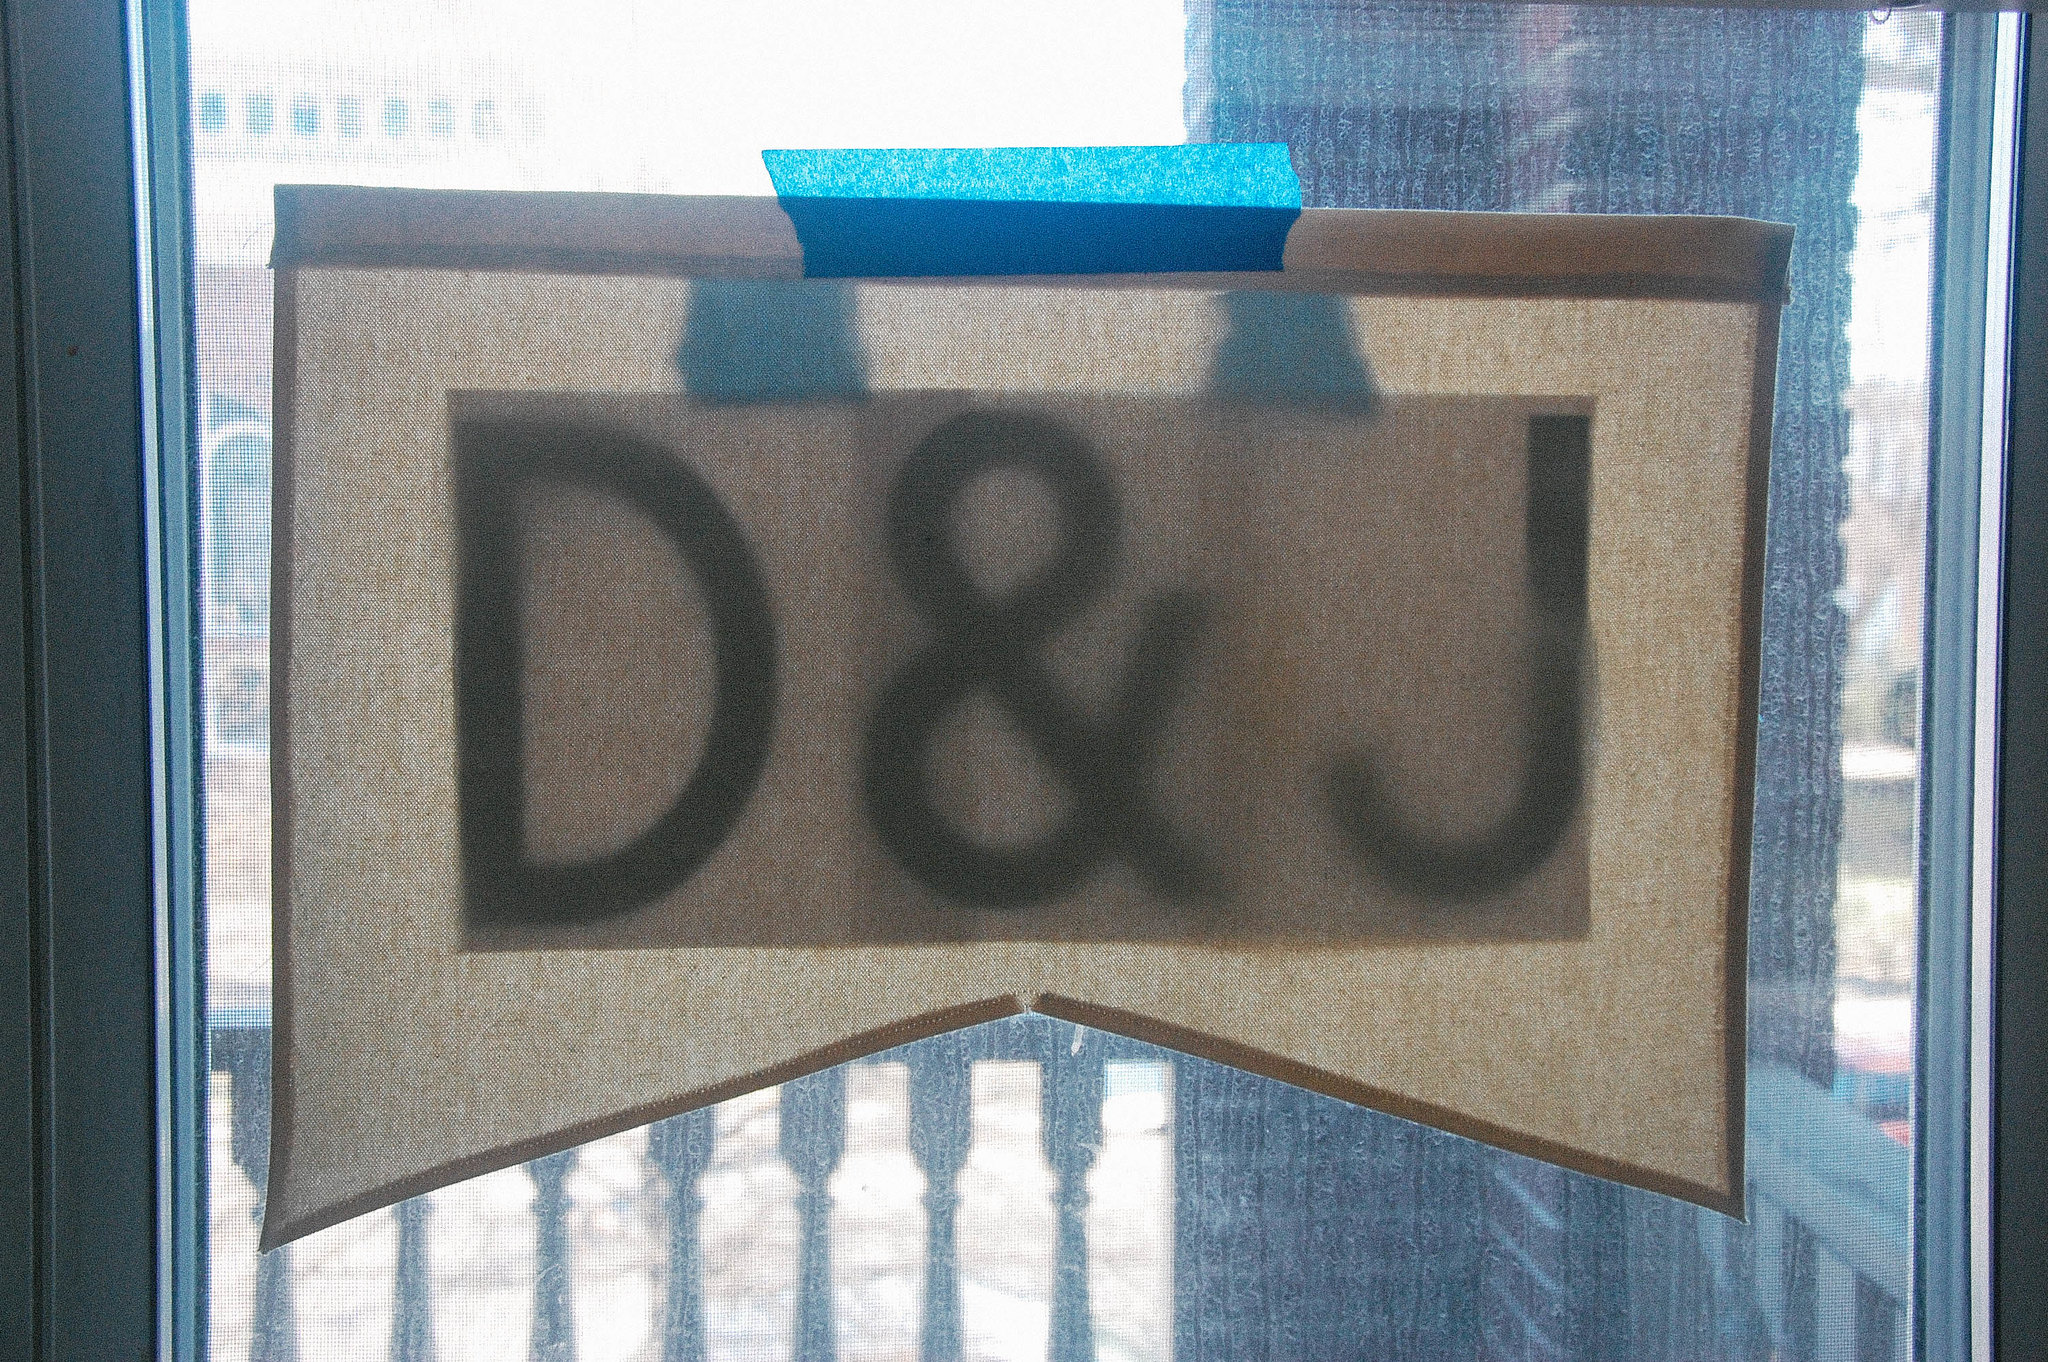
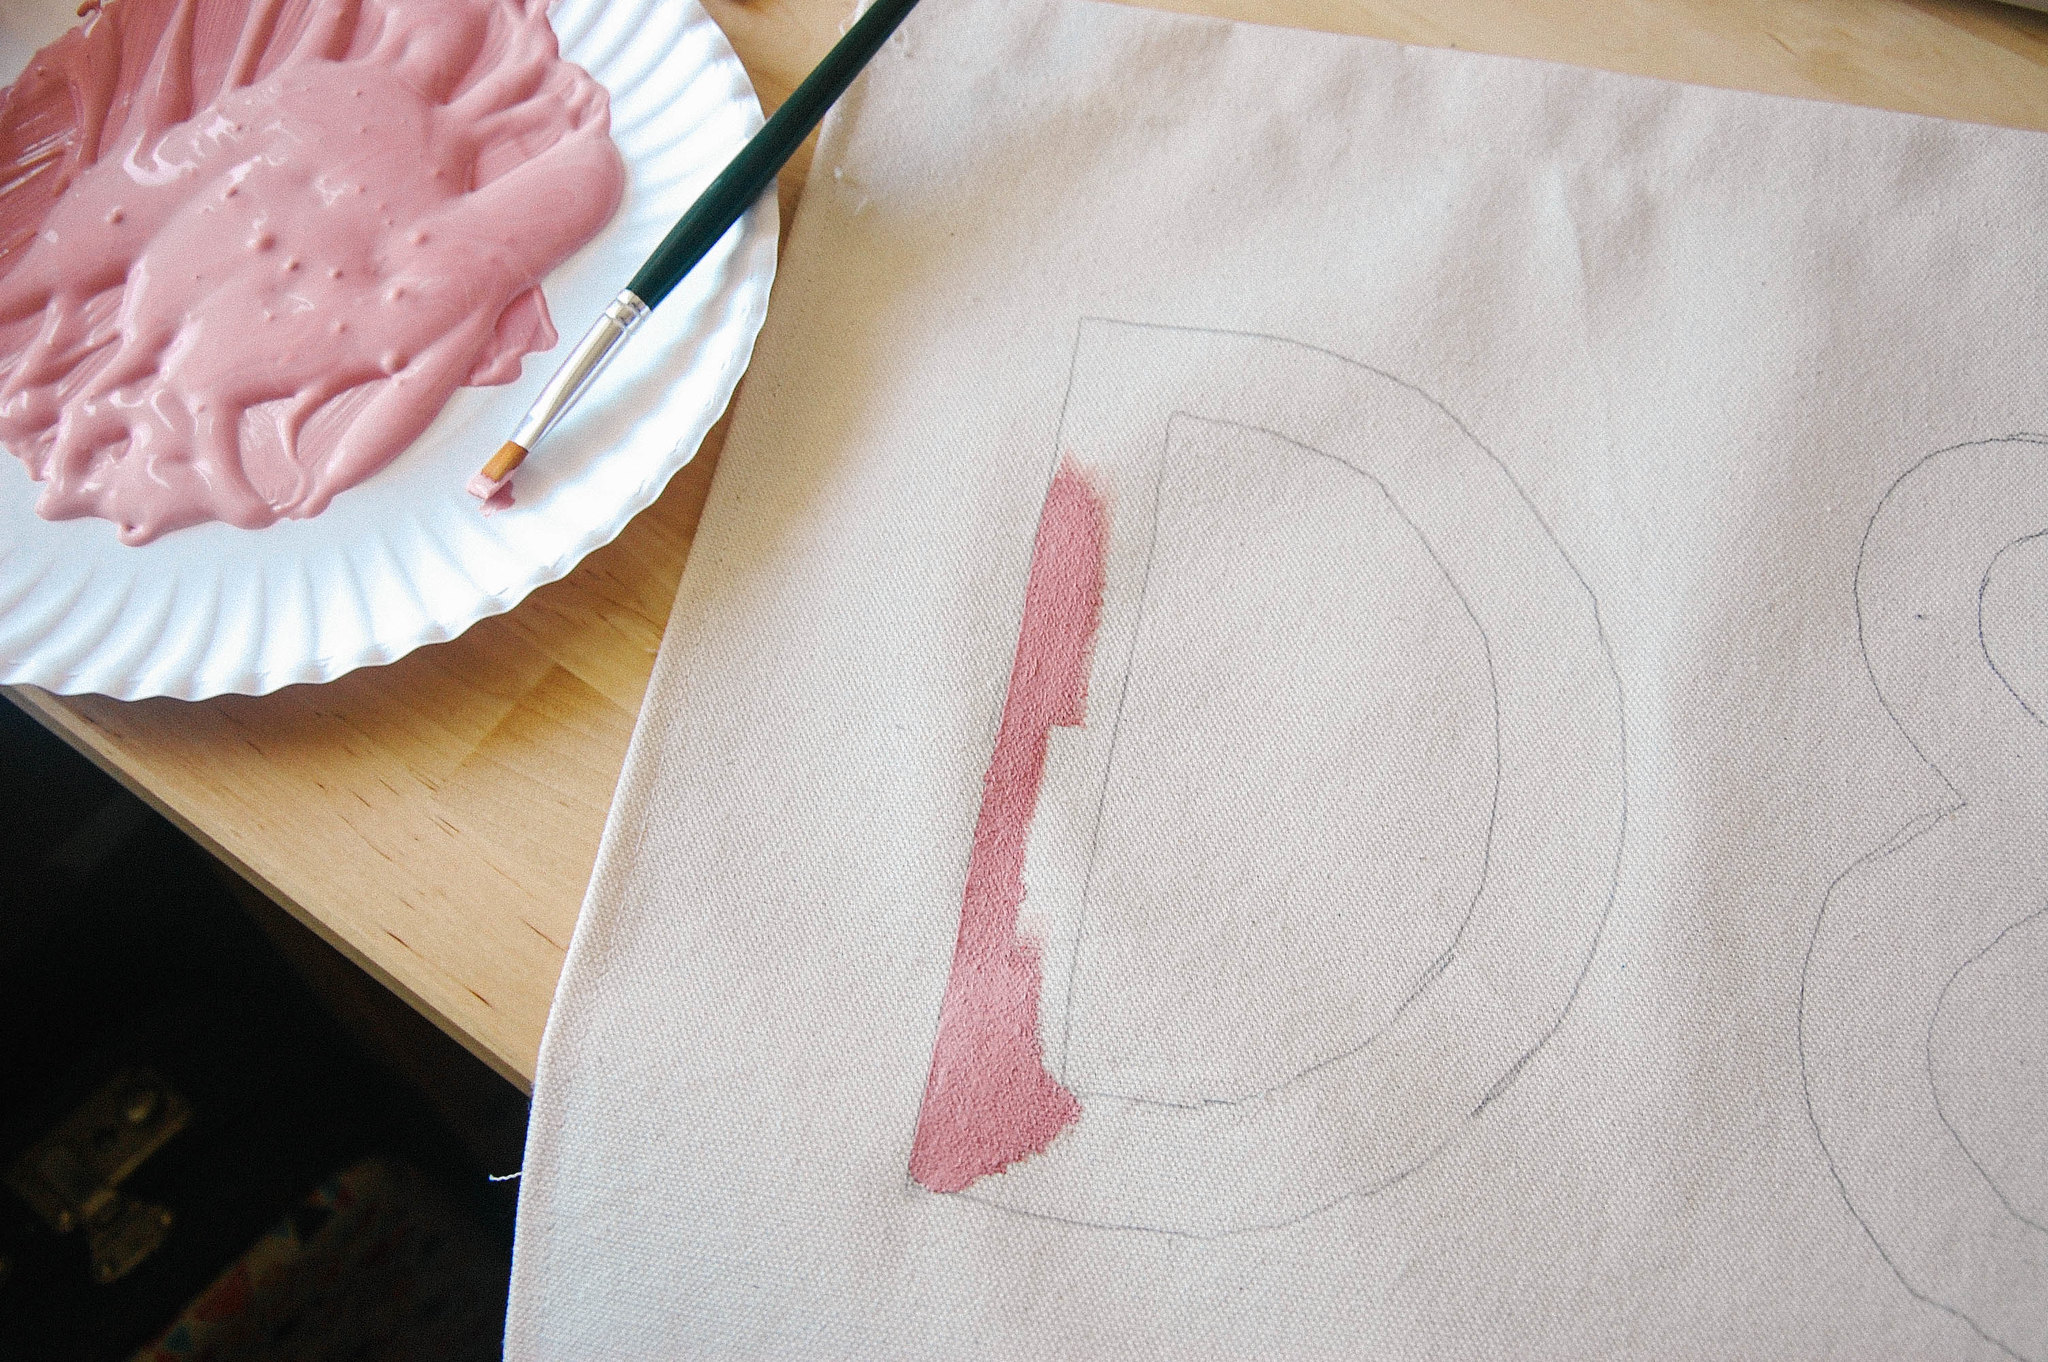
Trace your letters (or freehand them if you're wild like that). I taped the letters and banner onto a window to make it easier. It also helps you see exactly where you're putting the letters.
Paint all your letters and let dry completely. My canvas wrinkled up when the paint dried, so I had to iron if afterwards.
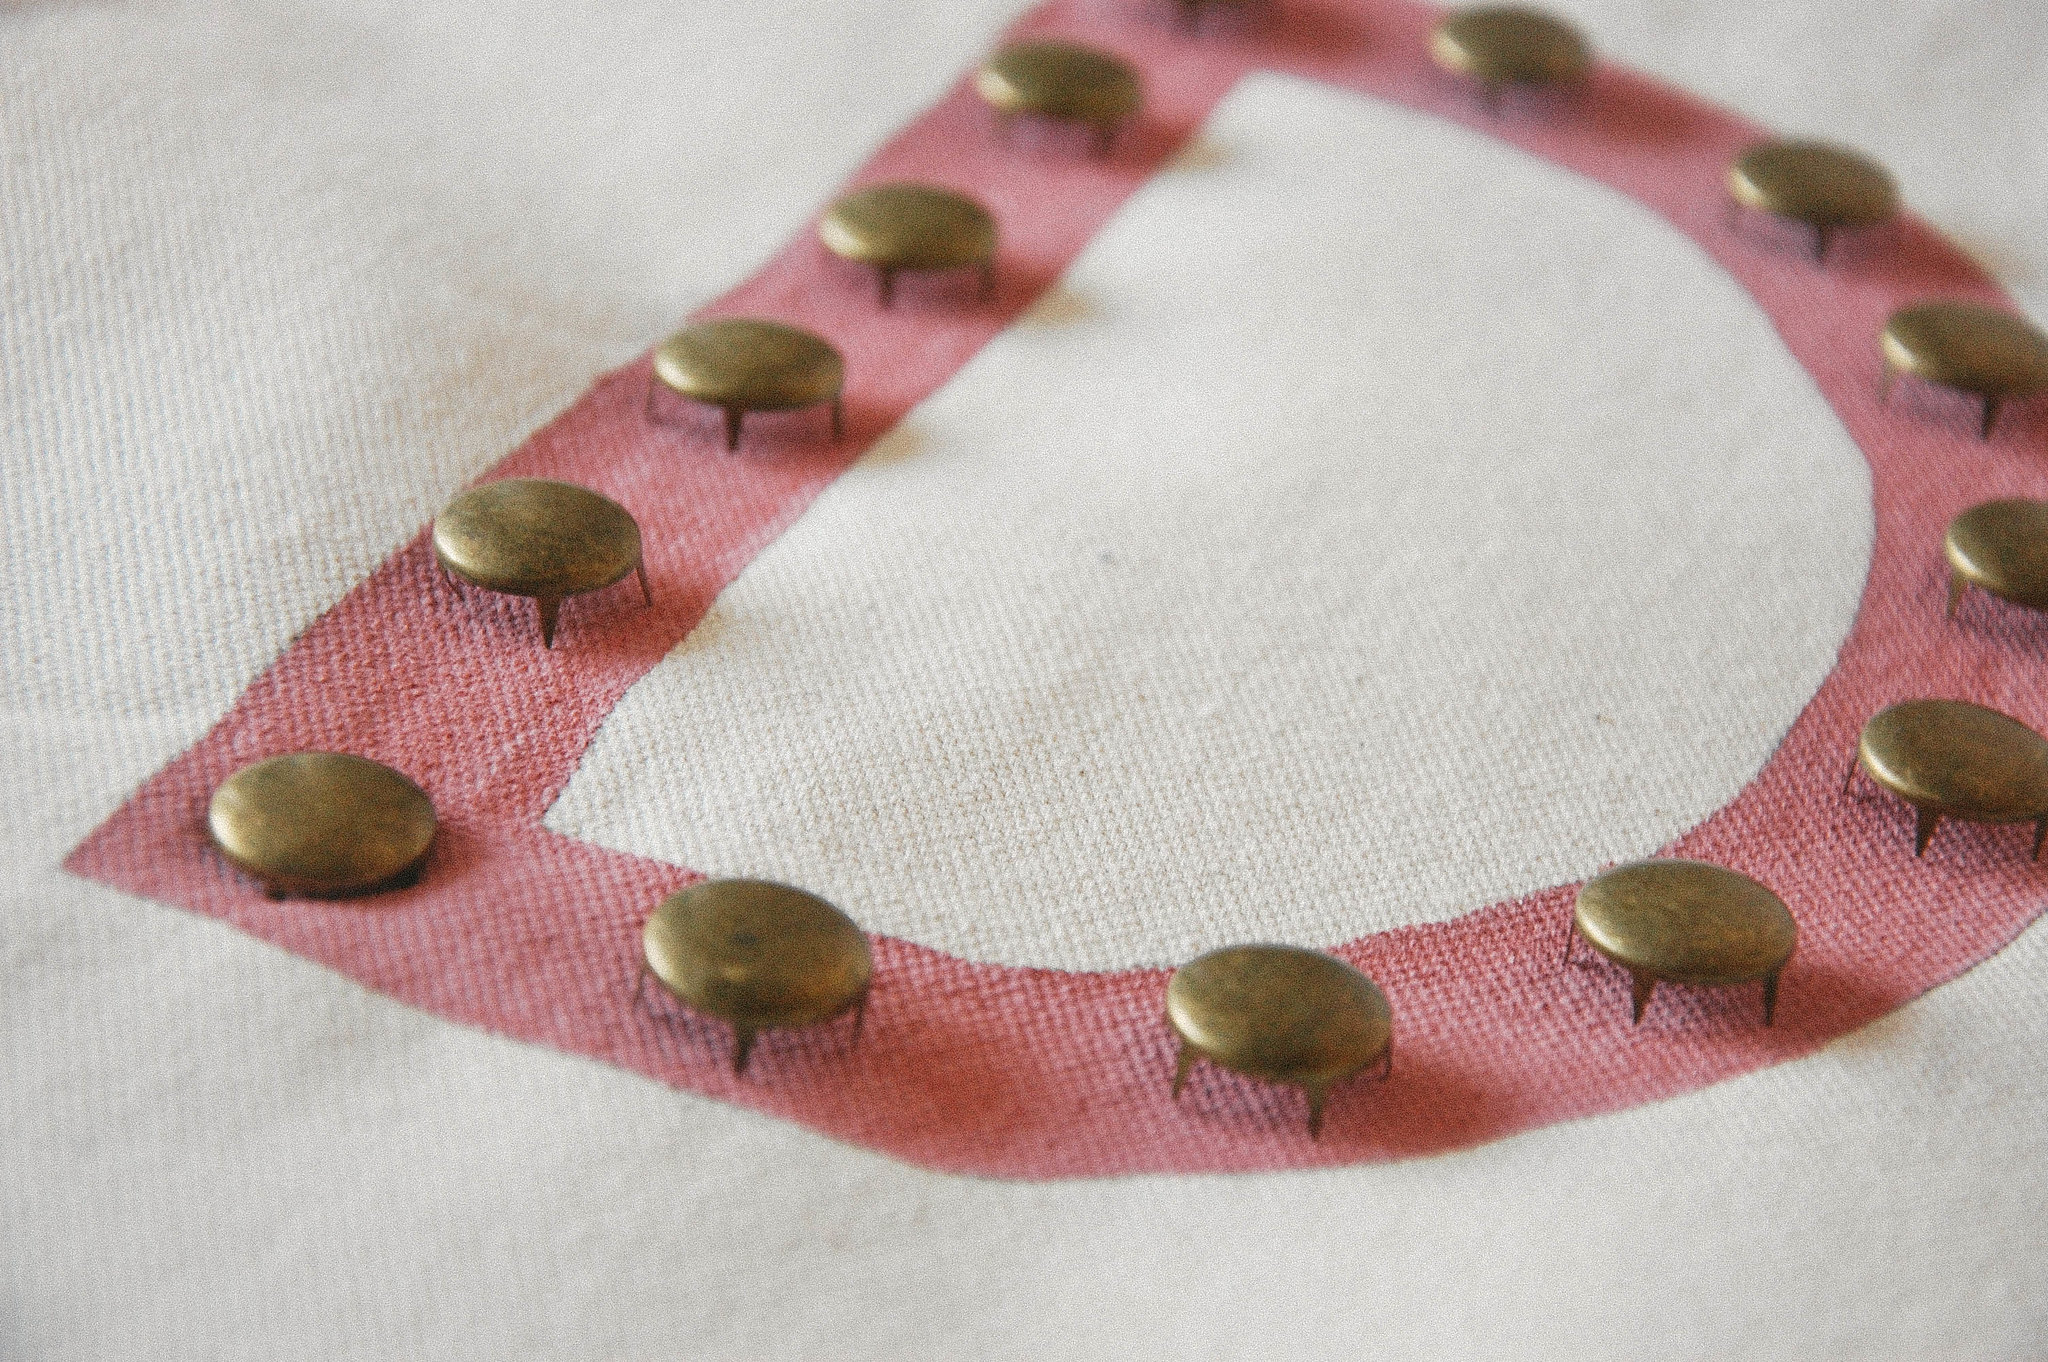
Lay out all your studs to get the spacing right then start attaching them to the fabric.
Tie your rope onto the dowel and hang it up!


I just bought some studs- what great timing!
ReplyDeleteLove this ...can't wait to try it!
ReplyDeletelove this idea. It really does add a personal touch to the space + it's totally cute.
ReplyDeletethanks for sharing.
I will do it, it's so sweet!!
ReplyDeletefollowing, if you want, follow me back! :)
elena
http://elenatorelliphoto.blogspot.it/
It's so cute! It looks fantastic on your wall, a bit of texture to break it up.
ReplyDeleteI love this idea! The end result is cool and it doesn't look too complicated, definitely going to give it a go!
ReplyDeleteAbsolutely LOVE this!!!
ReplyDeleteI really love this! I've been brainstorming Valentine's Day gift ideas—something small and simple—and I think this is it!
ReplyDeleteThanks!
I cannot tell you how much I absolutely adore this DIY. I will be sharing it on my blog tomorrow :3
ReplyDeleteThat is really really cute! I love how the pink and the studs somehow work together so well. And the shape you picked is lovely too<3
ReplyDeleteblueeyednightowl.blogspot.com/
I really love this! thanks for sharing it! I had no idea how to sew corners, so yay! your sewing is always so neat and tidy. I wish mine were, too. I'm excited to try this out.
ReplyDeleteFantastic idea!!
ReplyDelete