
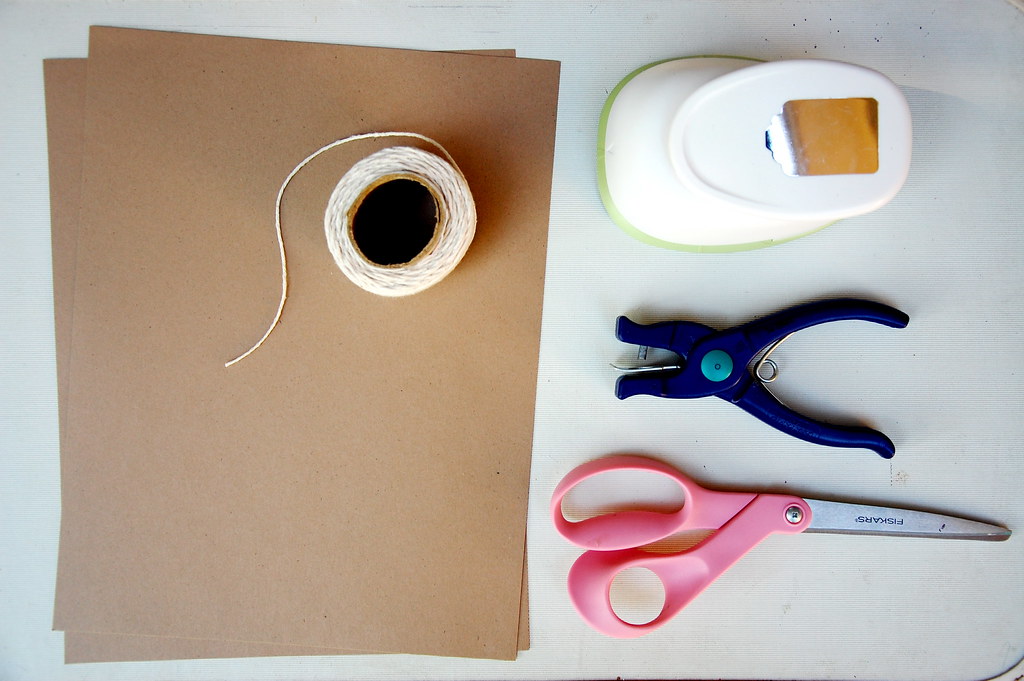
So buying price tags like these all packaged and pre-made can really add up, and while preparing for a big craft show, I'm realizing I need to save all the money that I can. So for the amount of money that I could have bought a few packs of tags, I bought a tag-shaped punch. And I love it! I also love being able to make tags that compliment my products and stay with the general aesthetic of what I'm doing. They're super simple. Here's what you need:
 |  |
 |  |
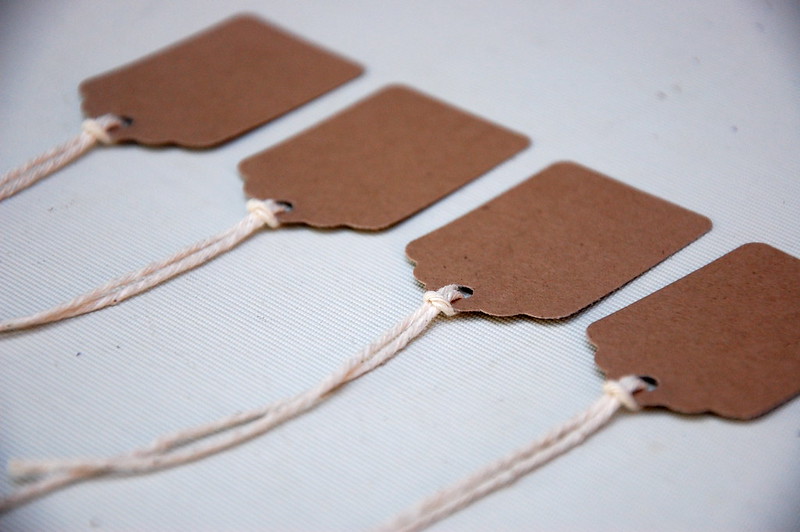
You can write on or stamp your prices on - I carved these number stamps out of stamp-making rubber and my linoleum cutter. I used the numbers from one of my favorite fonts. I thought they looked like numbers from old-fashioned ads.

I use my tag punch way more than I thought I would. I've used the tags for packing orders, gift tags, and journaling. So I hope some of you can use this idea for your projects!


Awesome!! I am going to set up a booth at an art gallery this week and wanted cool tags. I already use cut up food boxes for my jewelry tags and backing, but I need to price them too!! Thanks!
ReplyDeleteHey, thanks for sharing the wonderful process of creating price tags. If sale price tag will be mentioned on the product, the customer can quickly made a decision to buy it at once. And this is also a great ideas to display discounts and thus attracts customers.
ReplyDeleteThanks for the inspiration, your tags are super simple and look very professional. I will definitely be going this route for an upcoming show this month ^_^
ReplyDeleteThank you for this. Just what I was looking for. Is there a certain type of paper you use?
ReplyDelete