I've been looking at a lot of tips and suggestions for craft fairs while getting ready for the
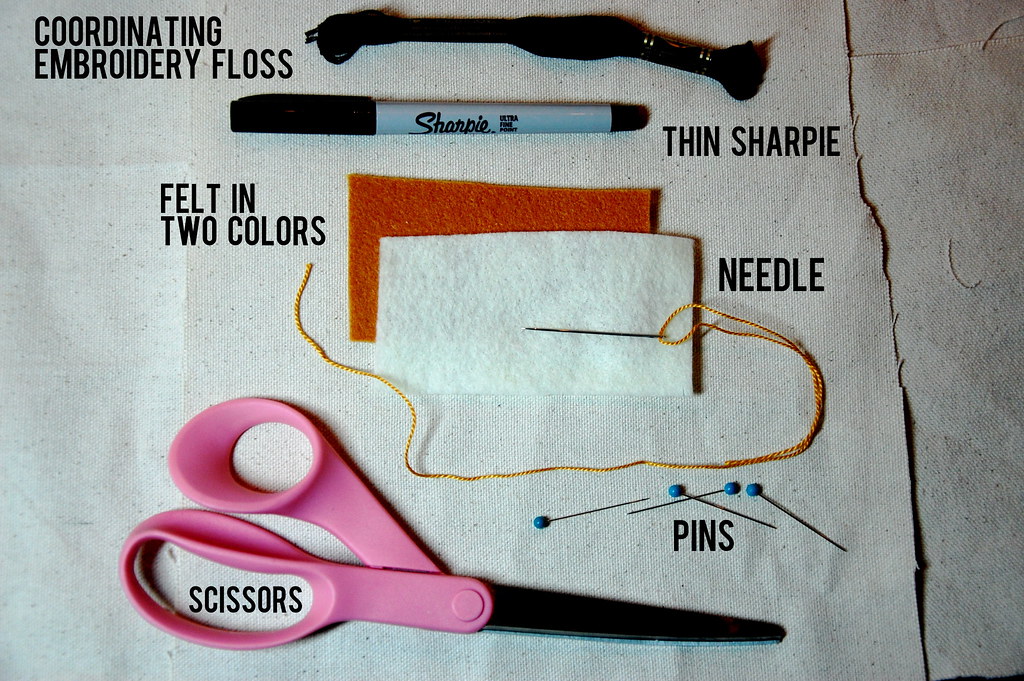
Lowcountry Artist Market. Several people suggested having a name tag while at your booth or table, and I liked the idea! I had some felt left over from making my banner, so I whipped this up earlier. Here's how you can make your own for craft sales, parties, or for any other situation where a name tag would be a nice touch. You'll need:
Not pictured but you'll also definitely need a pin back or a large safety pin (what I used).
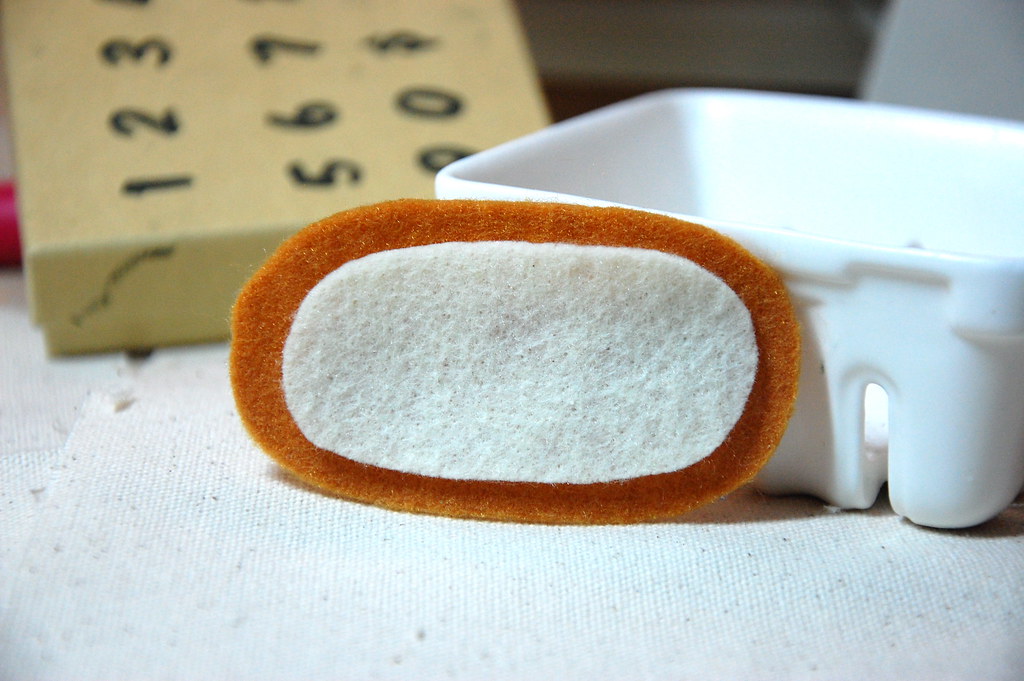
First, lightly mark your oval onto the felt you want to back you name tag with. My oval was is about 3 inches wide and 1.5 inches tall in the middle. Then cut out a smaller oval from the front felt. Mine looked like this:
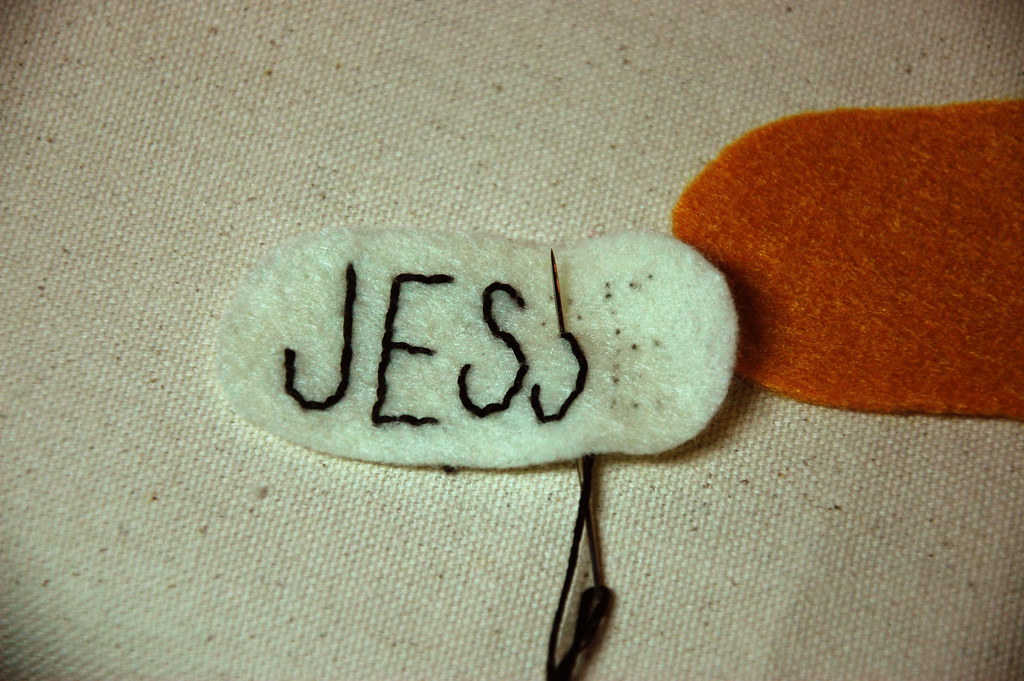
I used the sharpie to dot a guide to embroider my letters. I separated the embroidery floss and only used 4 strands for my letters. I also just used a simple embroidery straight stitch.
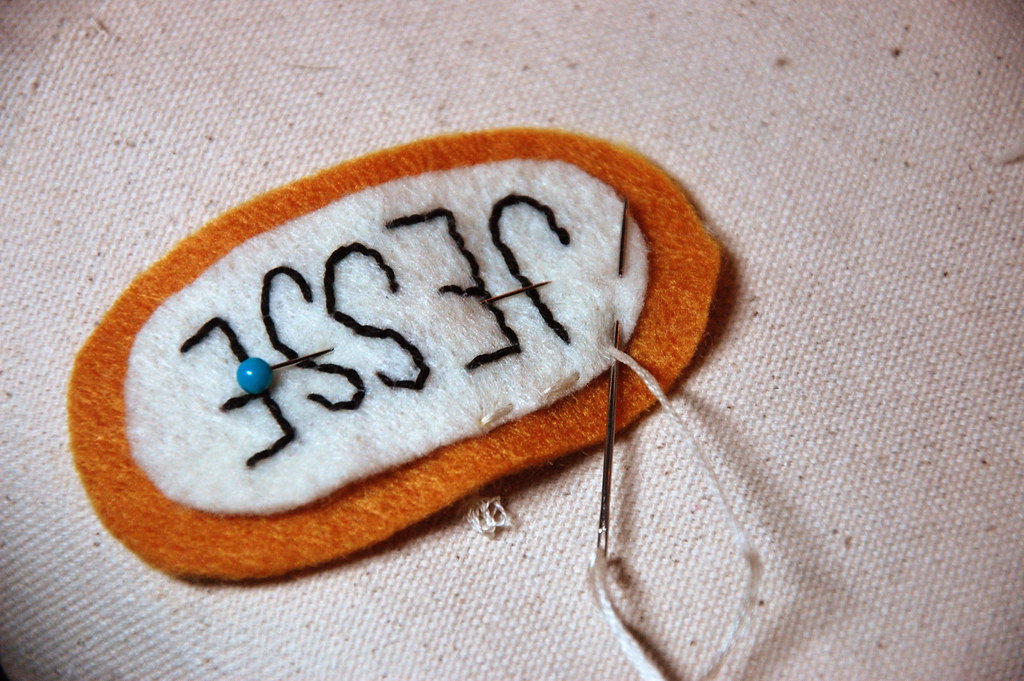
When your letters are done, pin the name in place and straight stitch close to the edge, attaching it to the back.
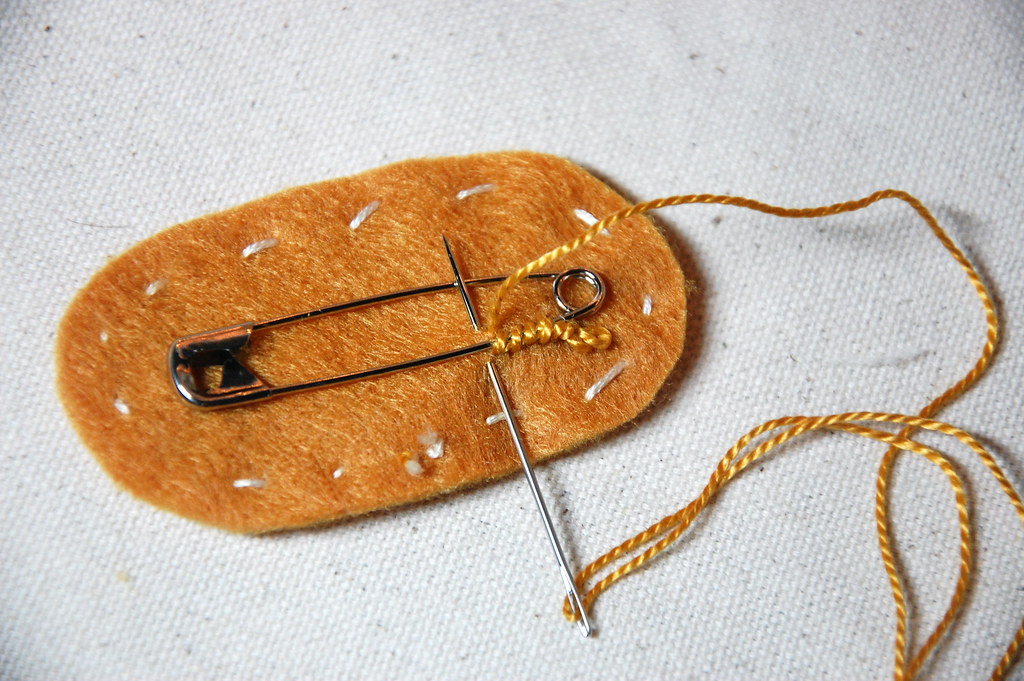
Attach the safety pin to the back by stitching around the side that doesn't open. Stitch through only the back layer of felt when going around safety pin so your stitches don't show through on the front.
I've always loved the Hello My Name Is sticker name tags, but I think this is going to be a nice touch. Happy March, by the way! It's almost Spring!


!!! That felt name tag is so cute! I'm going to have to use this idea to make some flair for my co-workers, I think they'll really like it!
ReplyDeleteThanks! They're pretty quick to make. I want to play around with different colors. Seriously addicted to felt.
ReplyDelete